-
-
October 3, 2020 at 6:51 pm #299872
 Ariana ThompsonParticipant
Hey gang,
Thought I would just touch base about a persistant issue with “white cabinets”. They always look grey in renders!
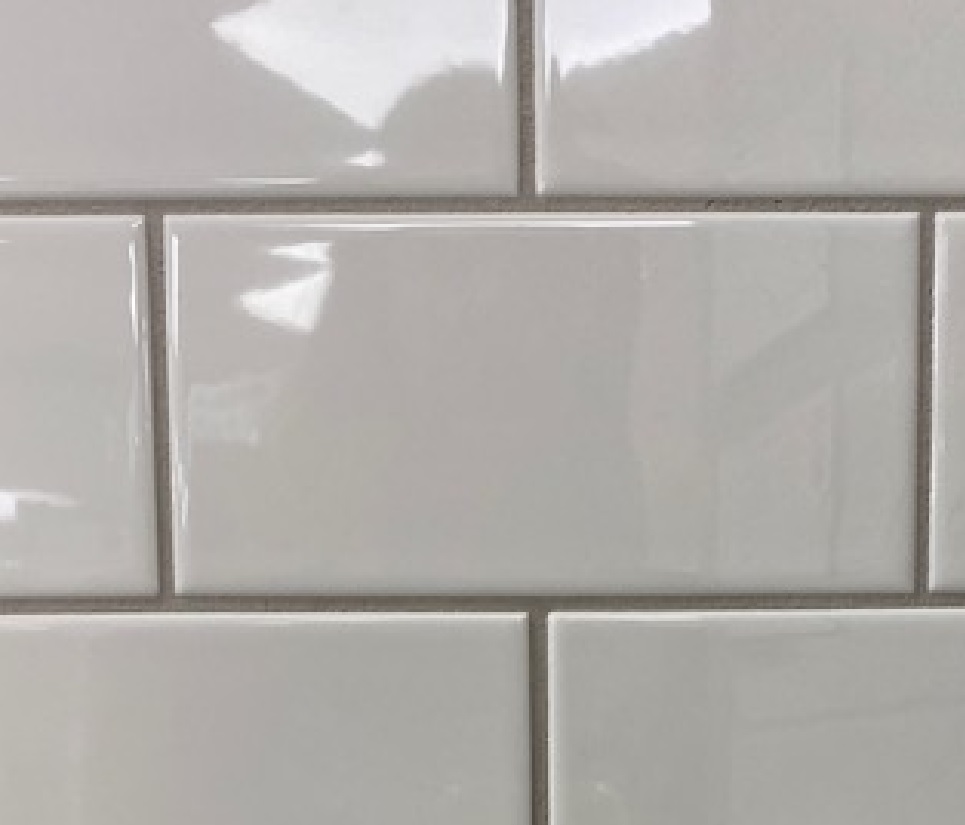
I had an “Aha!” moment looking at a photo of glossy white tile (I have attached the pic so you can share my eureka moment).
T0 see the “gloss” our brains require that tell-tale bright WHITE flash across the surface. In order for the FLASH to look white – **the rest of the tile has to look grey**
As you can see in the pic, the tile is actually grey – our brain sees white because of the flash of bright white.
As soon as I changed the colour of my cabinets in my Global Attributes from White Gloss to White Eggshell paint….. presto! Brilliant white in the render!
Apparently the 2020 light rendering thingamadoo is making glossy white look grey with this dynamic in mind. The idea being that a bright white flash of gloss would need a grey “field”.
Thought I would share
Ariana
Attachments:
-
October 6, 2020 at 5:54 pm #300162
Kristopher Papaleo
ParticipantHi Ariana,
Thank you for this suggestion, it is always appreciated when information is shared between users!
HERE is an article that can help users accomplish this using a few different steps!
Regards,
Kris 🙂
-
October 7, 2020 at 9:09 pm #300315
Jonothan Desimini
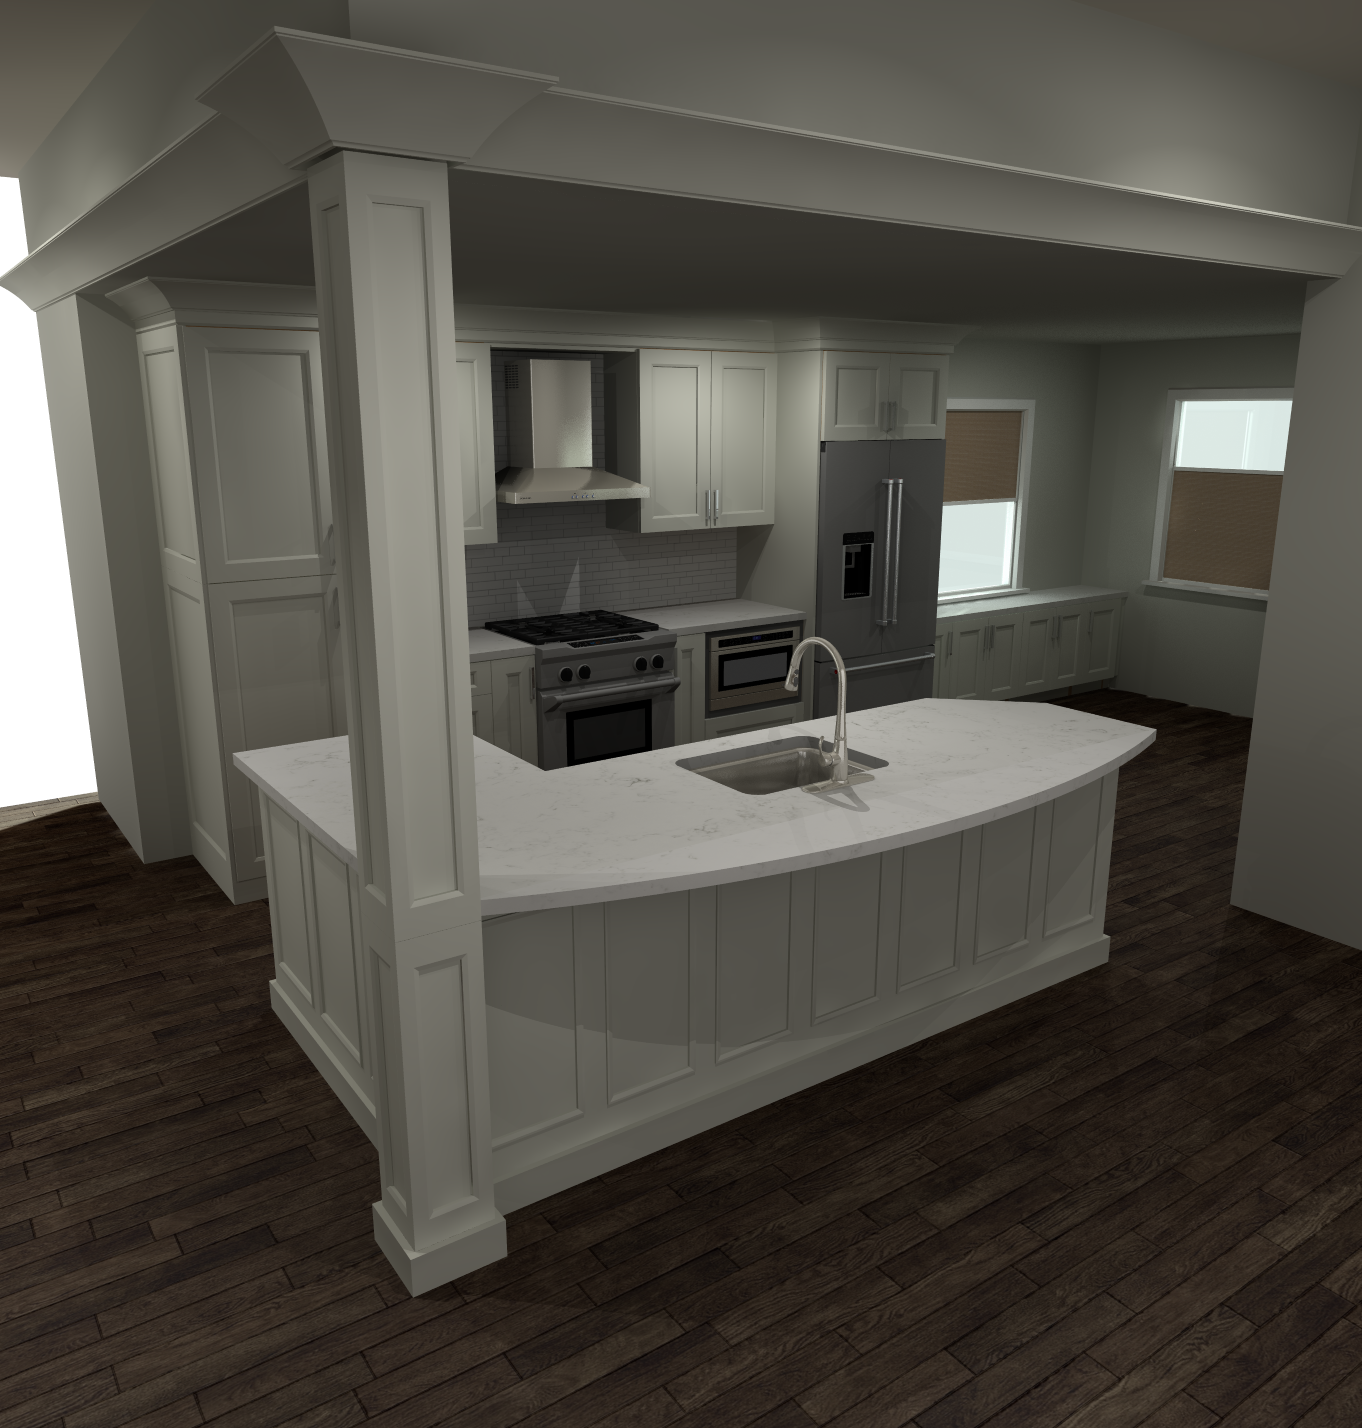
ParticipantOne other item that I still haven’t seen fixed that would assist with the white cabinetry issue and really any color cabinetry issue is the temperature that 2020 has the auto room lighting set to. I find it best to just shut off all the auto lighting (ie. Preferences > Rendering Performance and for Auto Light I set it to “no auto light.” Once you do this you then are left with the task of placing all your own lighting.
Honestly I think this is just yet another spot for improvement by the 2020 development team but at least this way I can control the lighting that comes into the design. Otherwise, You are left fighting the yellow cast created by the auto lights in your final renders. When I’m lazy or trying to quickly put a design together and provide a client a quote – I leave them on and then render and open the file in Photoshop to edit and improve since you have many tools to quickly and easily adjust the final depiction of the space to the client. Included photos to show what I do.
It would really be great to hear that the next version released has either white lighting or even better the ability to select the temperature of the auto lighting.
Attachments:
-
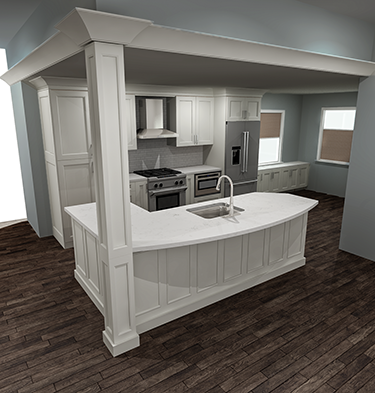
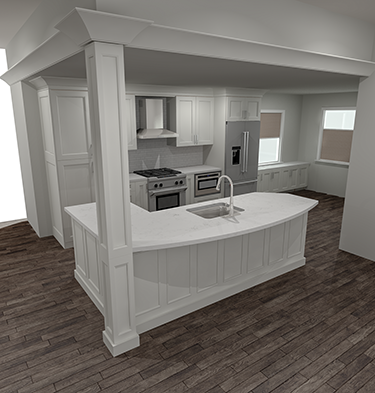
October 7, 2020 at 10:26 pm #300325Participant
These are the lighter fixed pictures from photoshop.
Attachments:
-
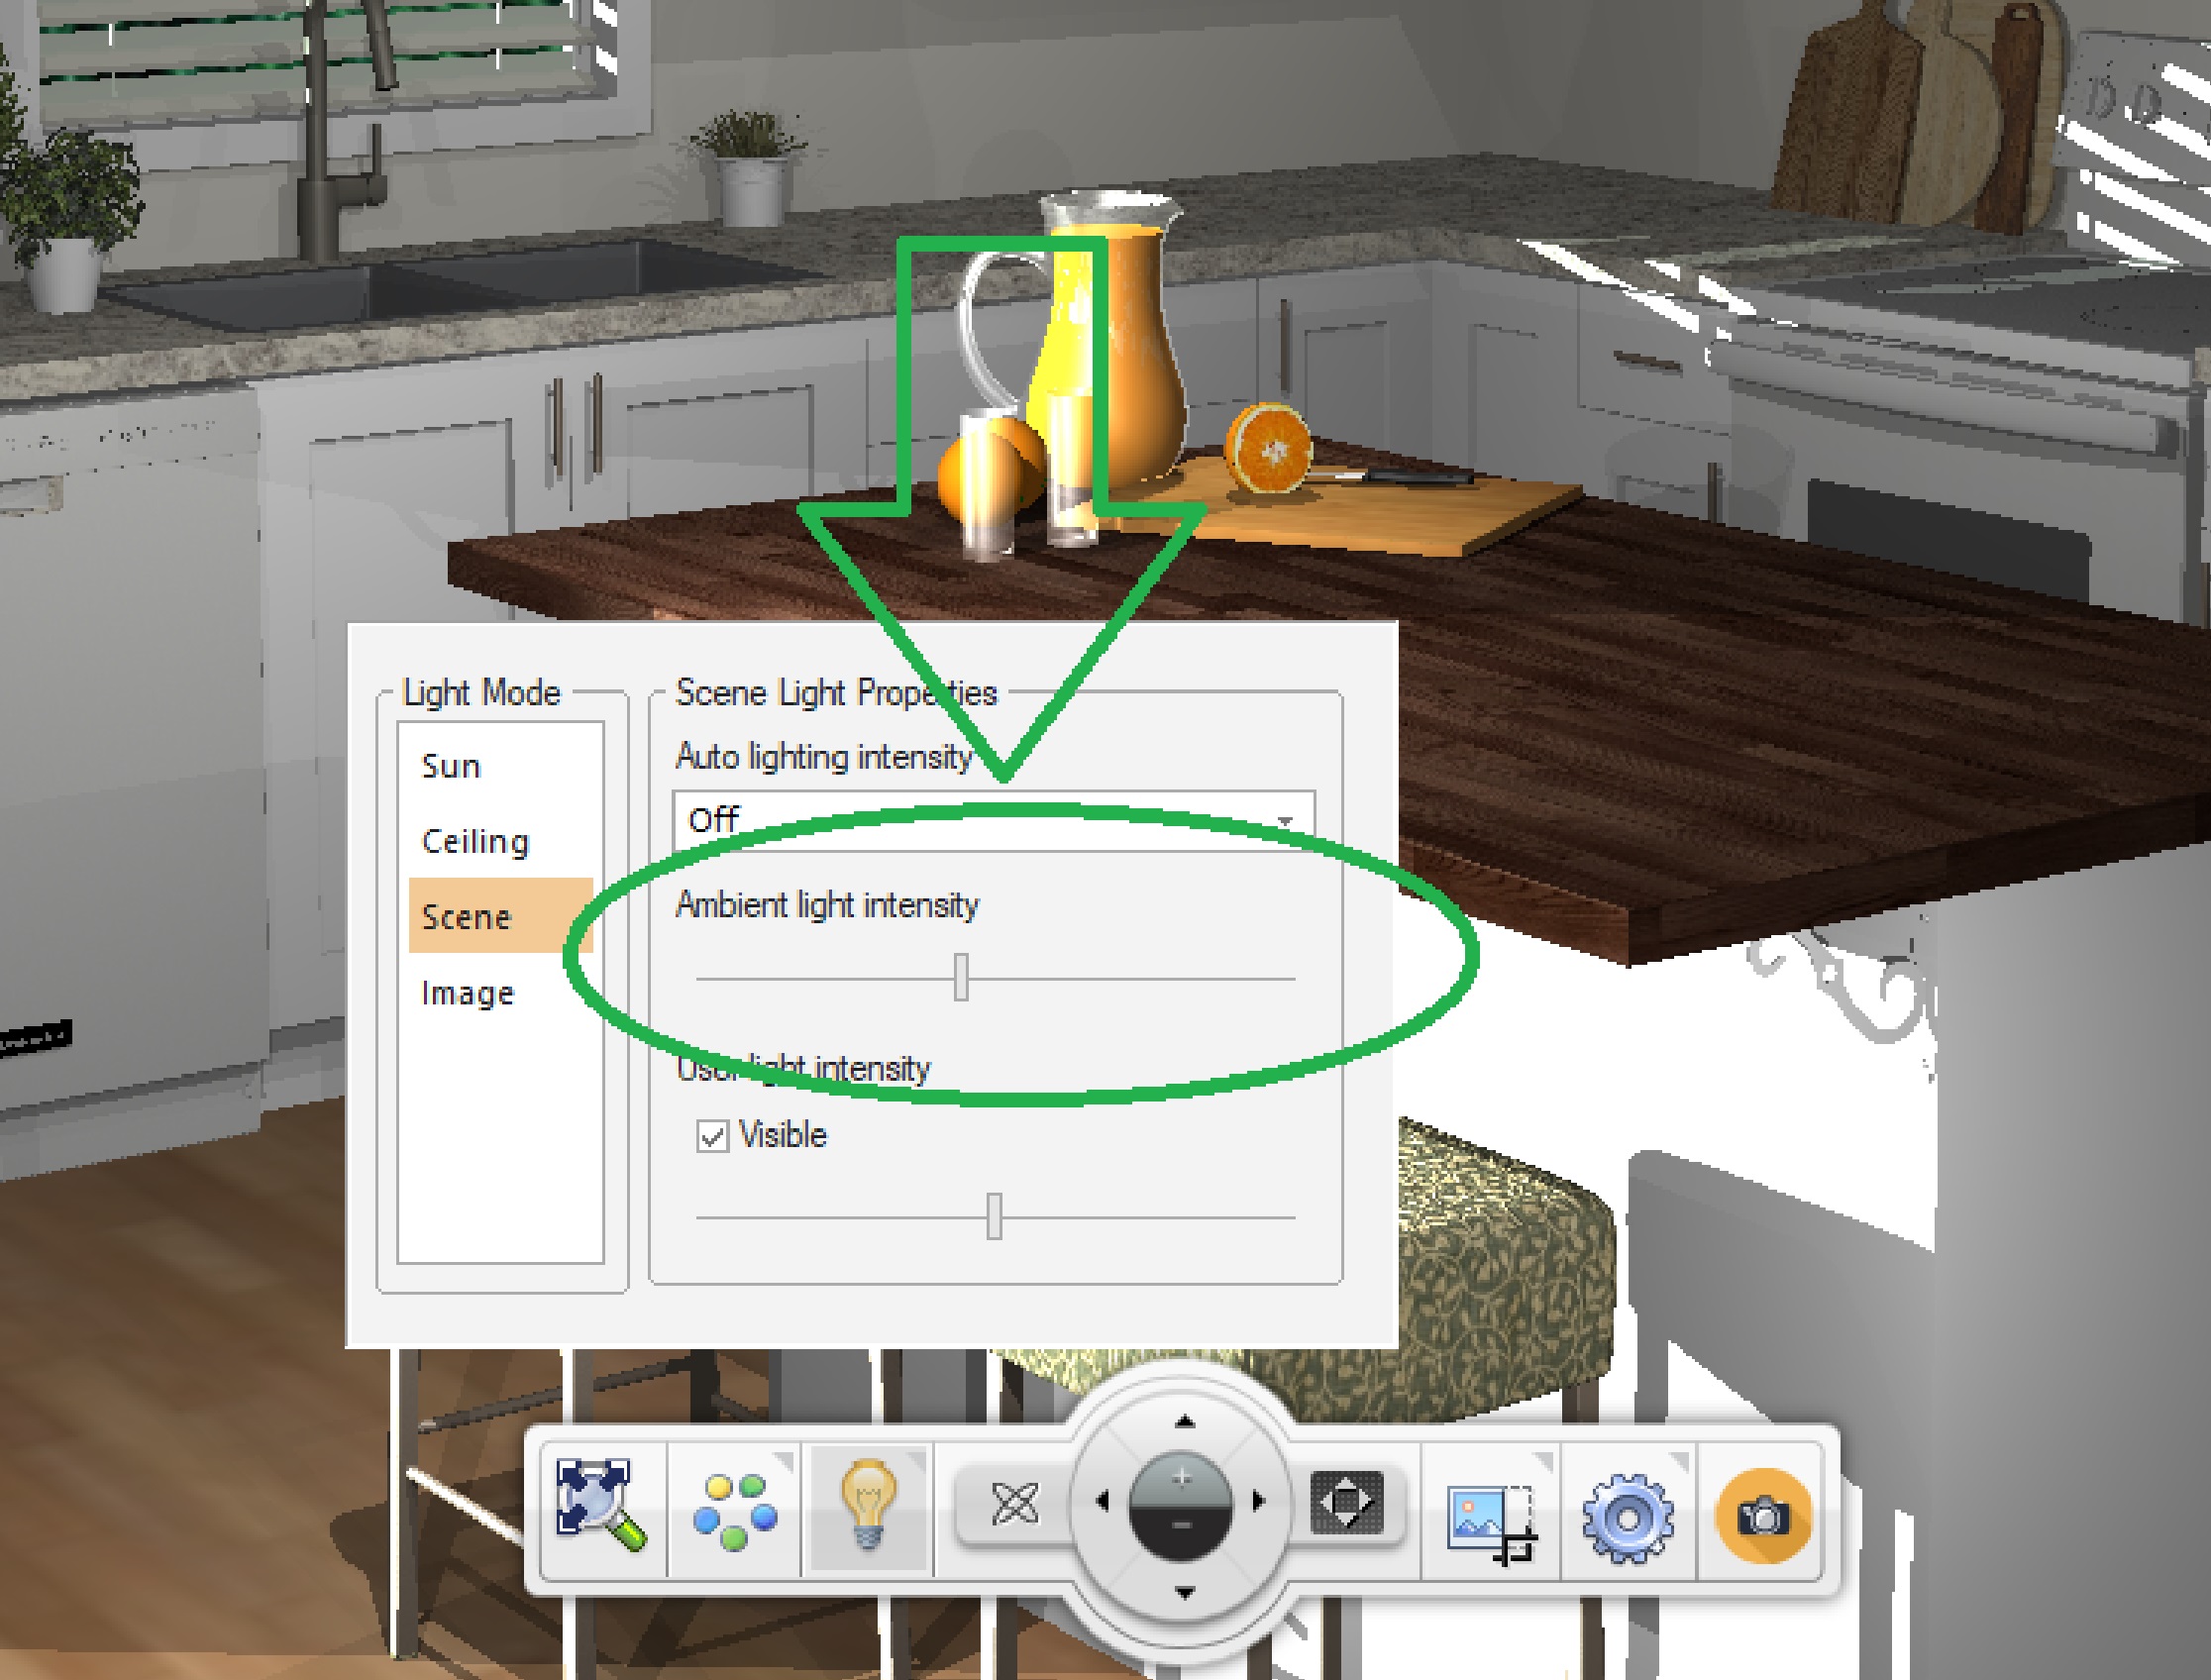
October 8, 2020 at 10:24 am #300347Ariana ThompsonParticipant
Hi Jonothan,
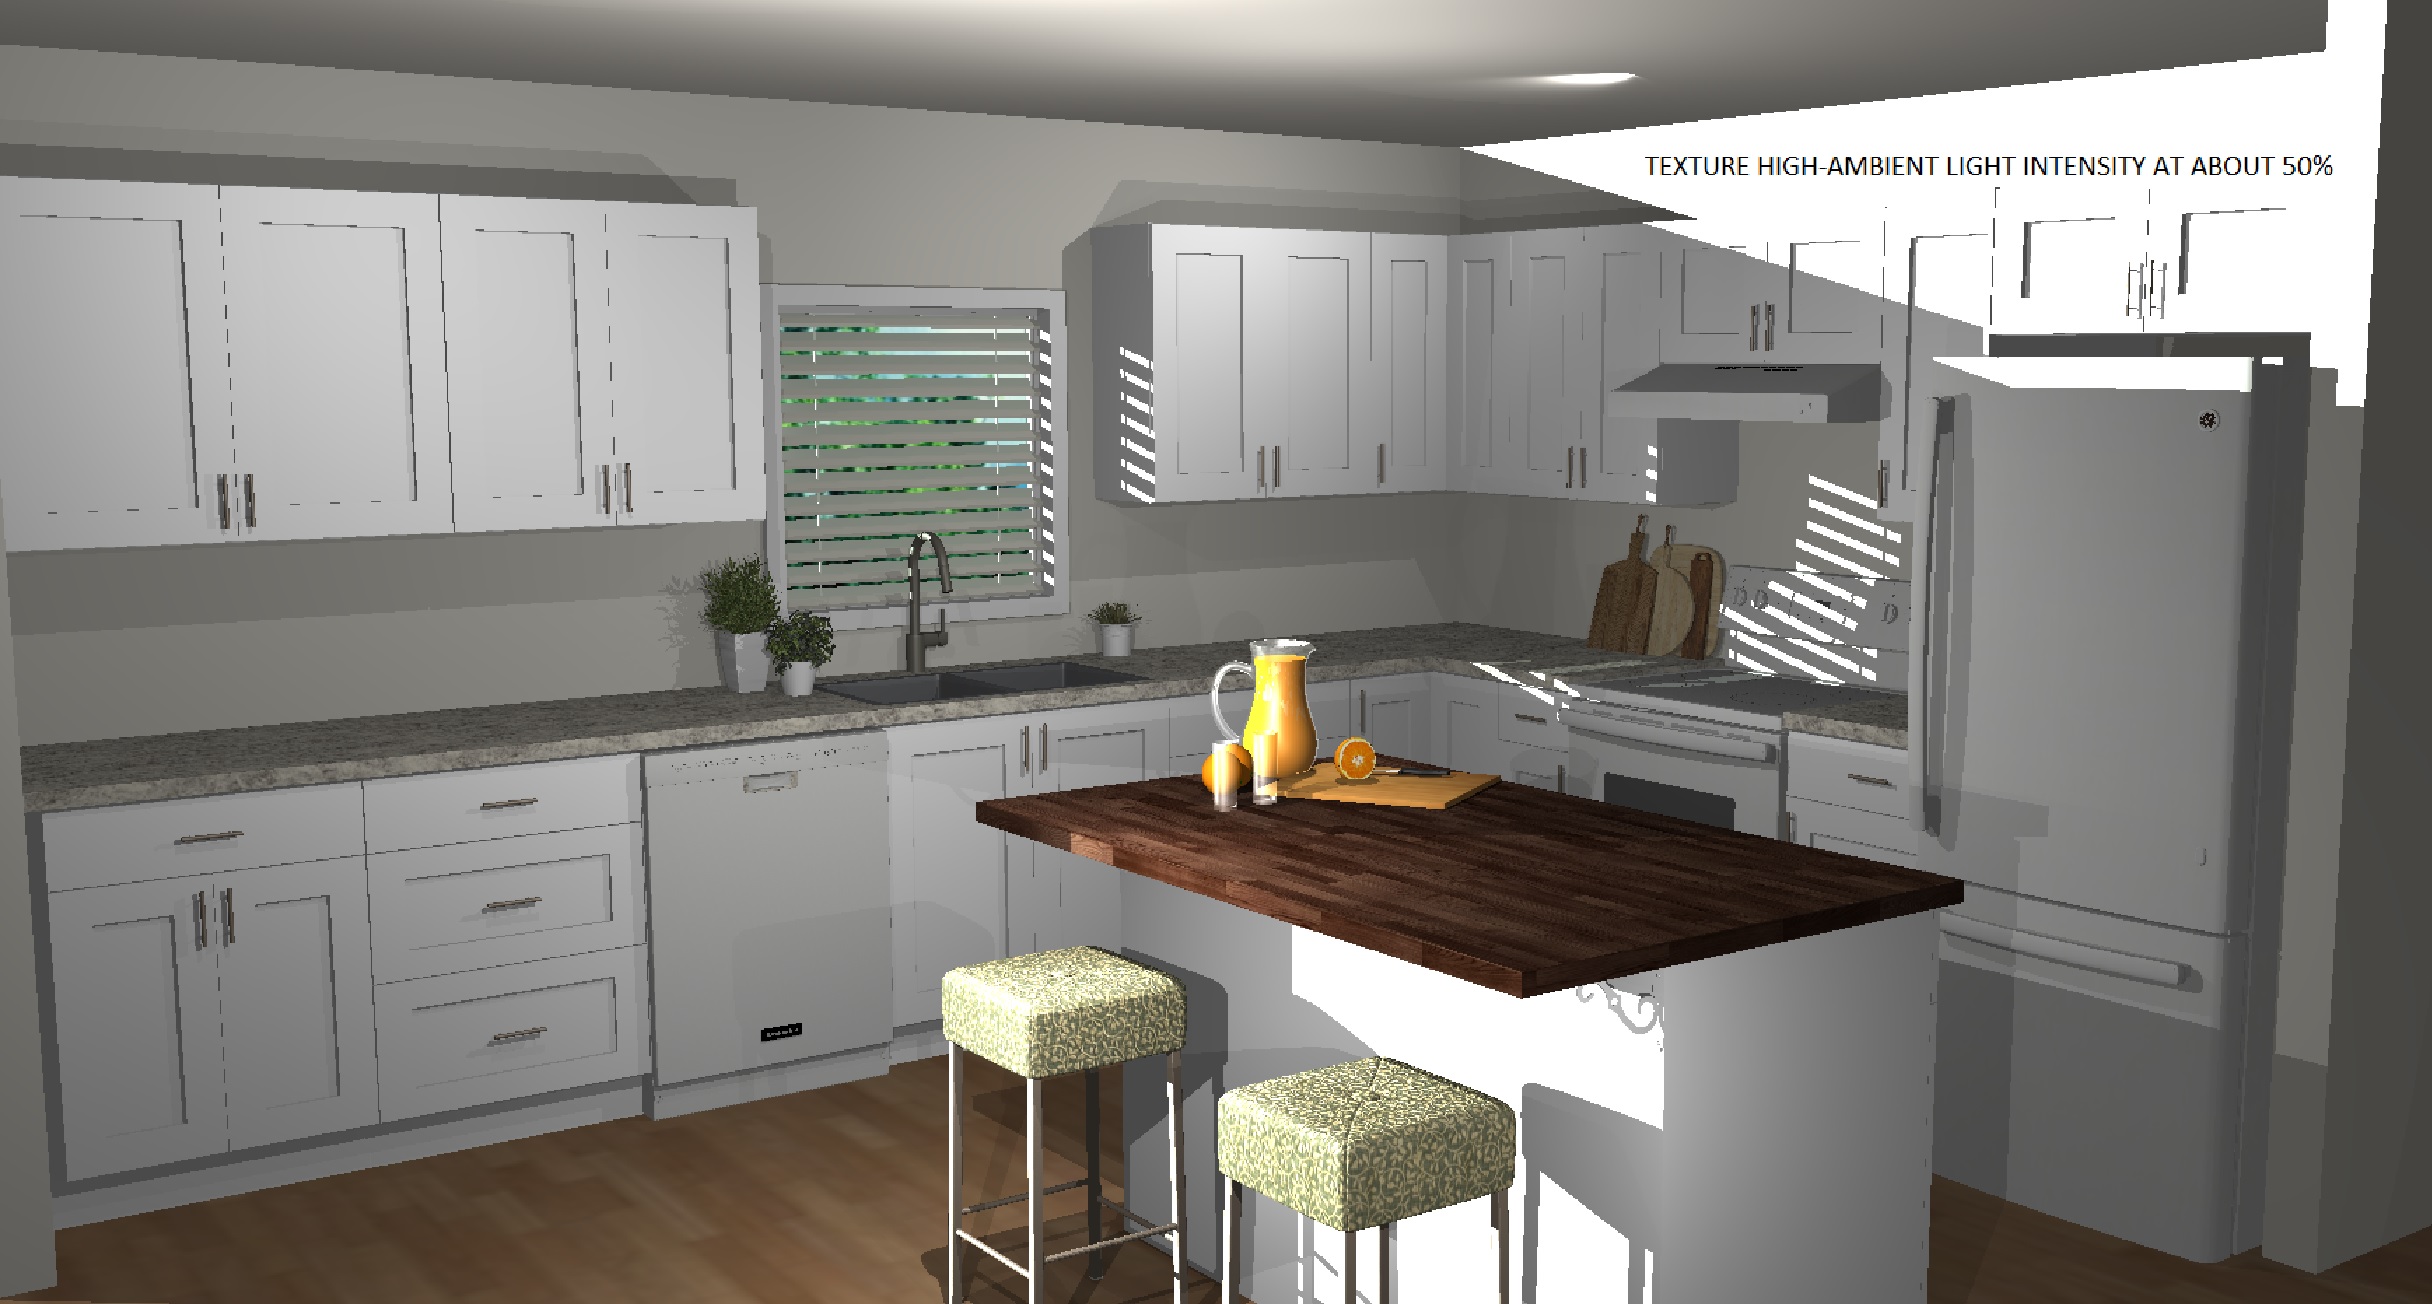
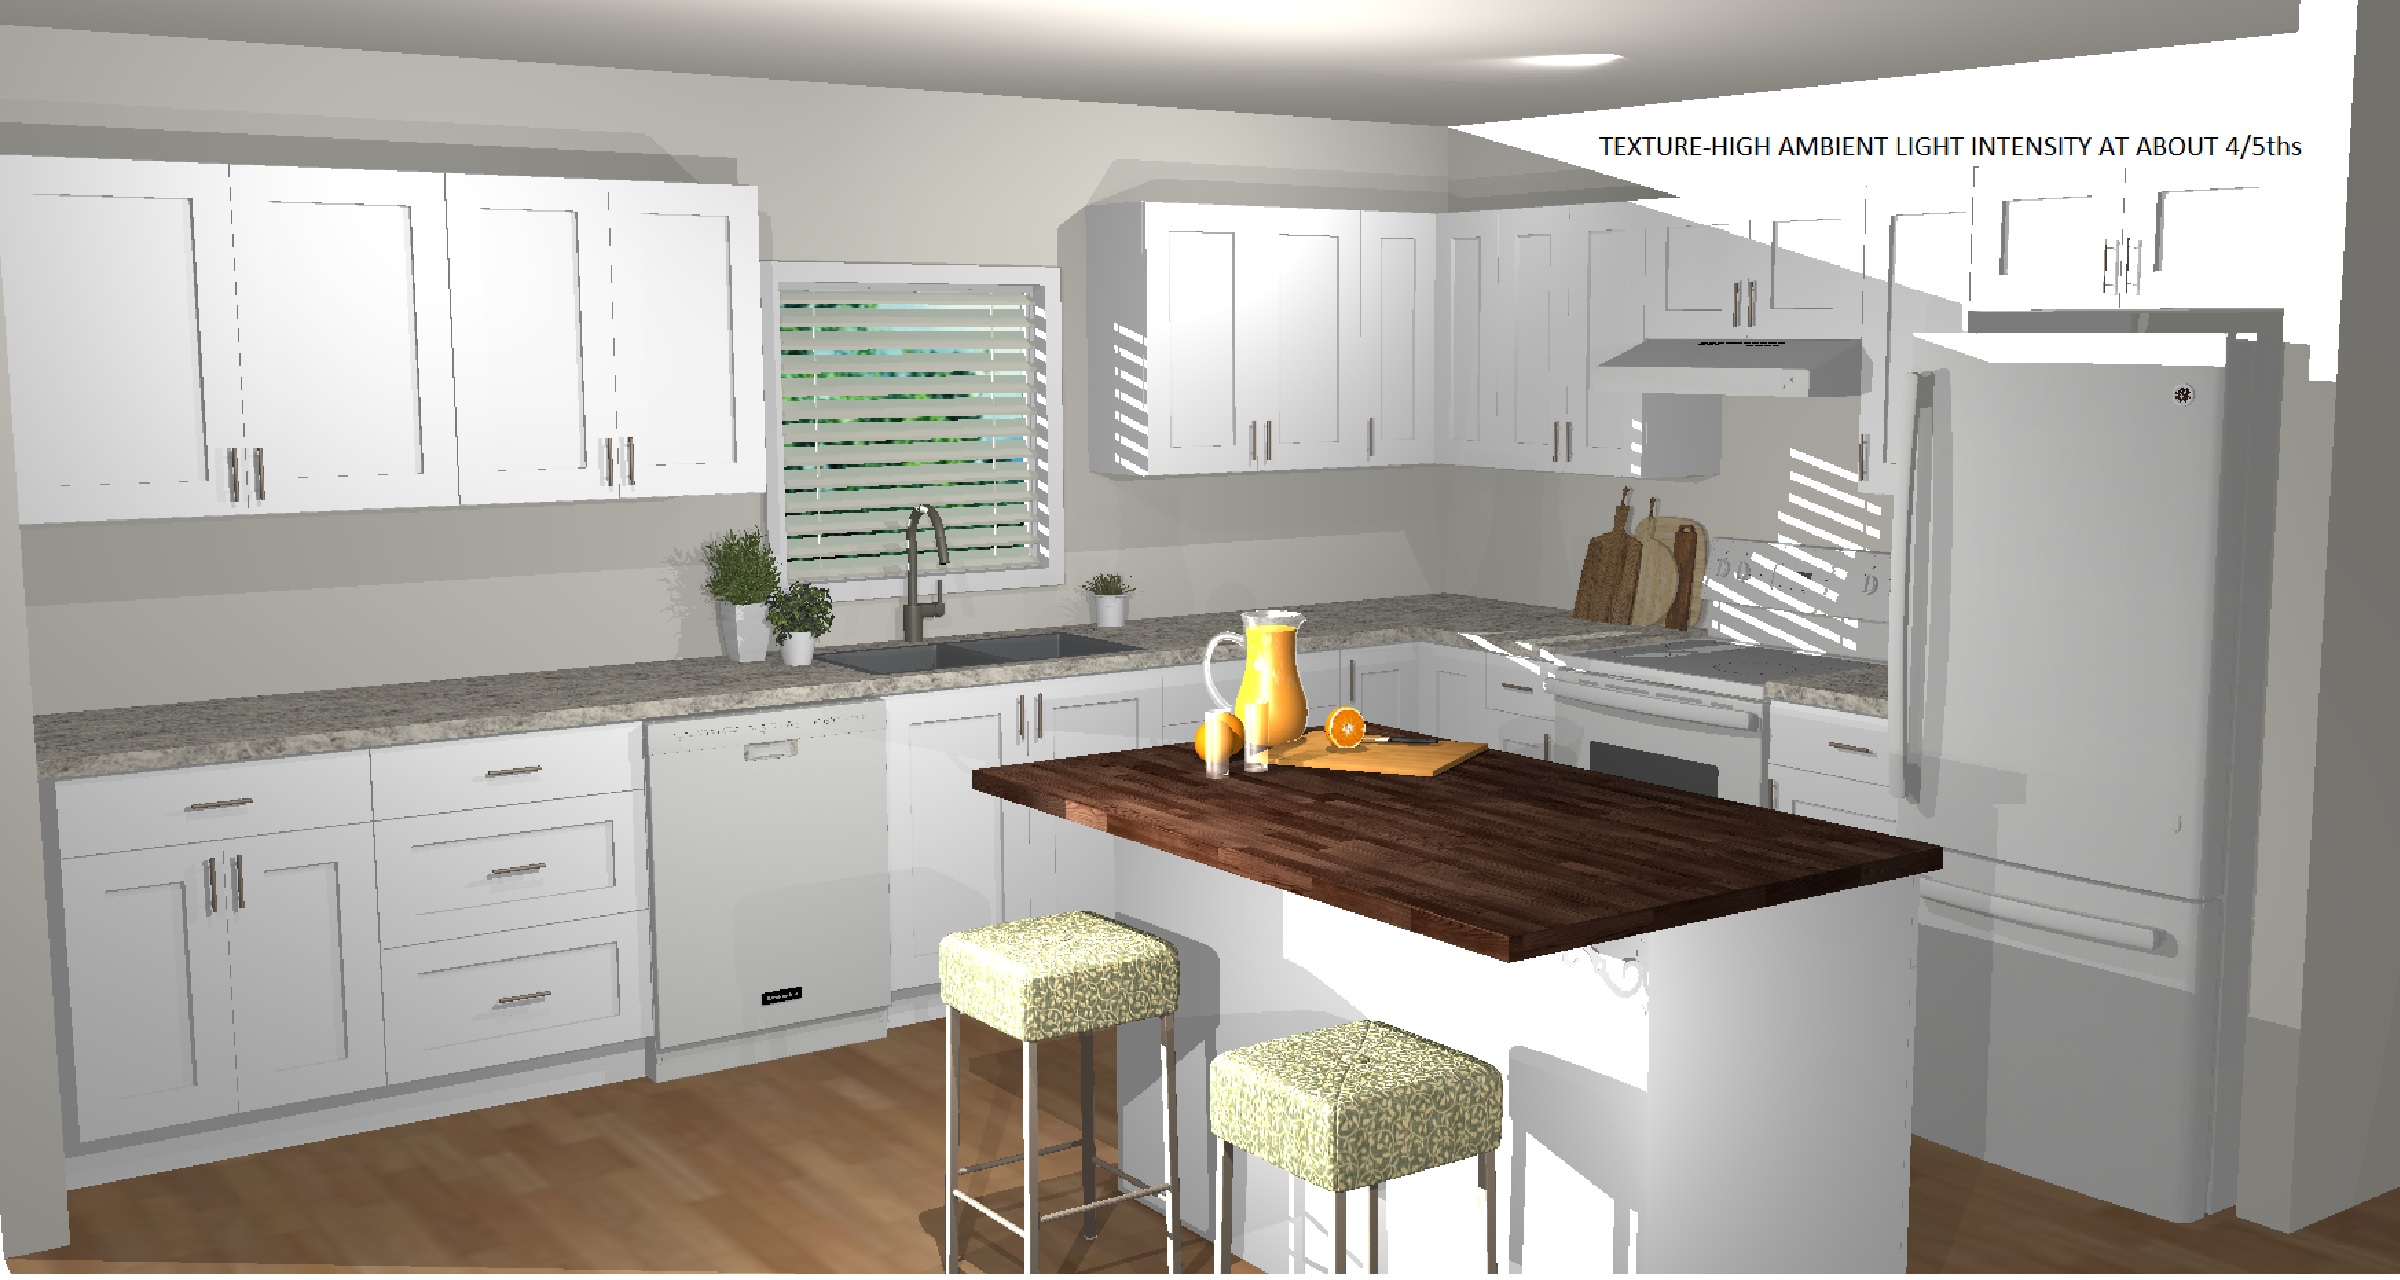
I TOTALLY agree with the Auto Light. I turn it off immediately. I then crank Ambient Light Intensity to about a 4/5ths of the way up. It’s a great way to get a clean, bright overall look that’s quick and easy. See attached comparison.
Ariana
Attachments:
-
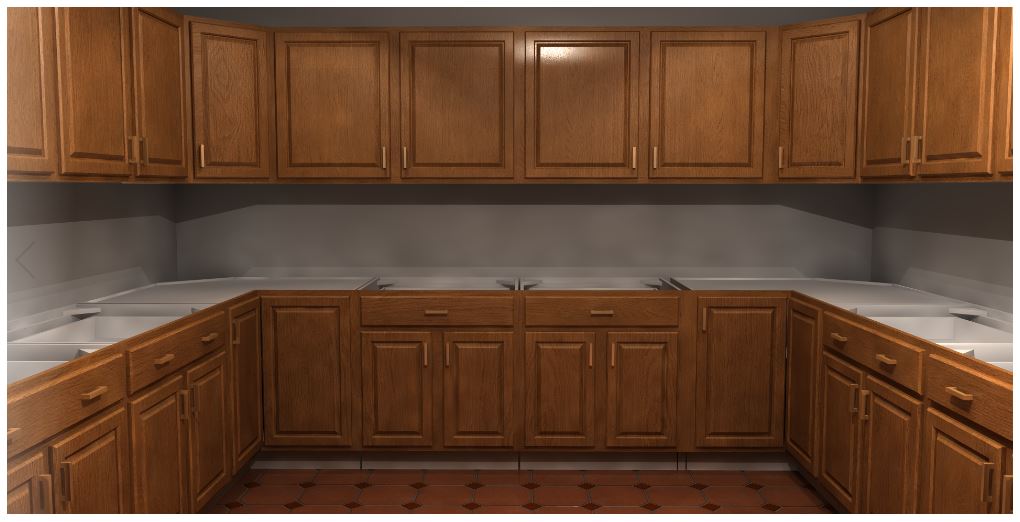
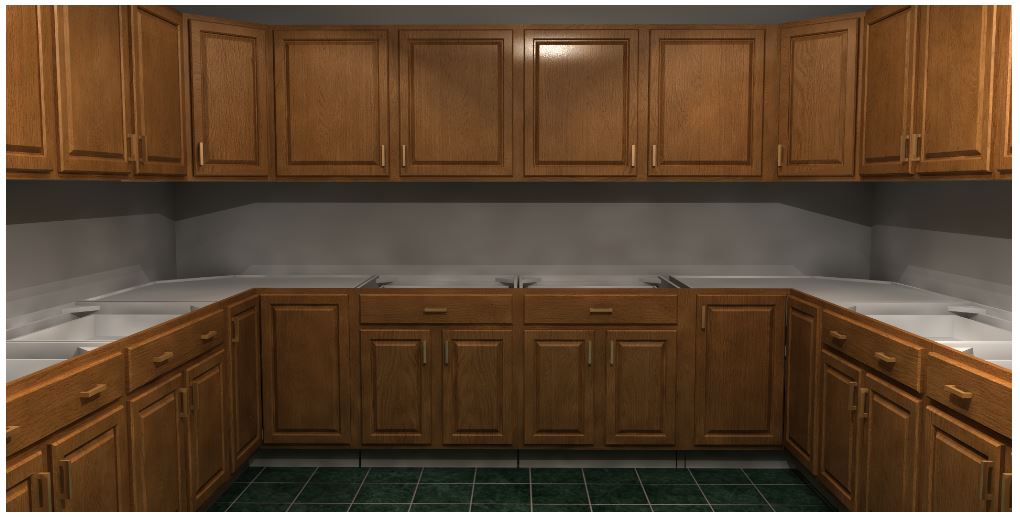
October 8, 2020 at 12:00 pm #300376Participant
Hi Jonothan, Ariana,
The auto lighting in the program is set to be white. Even the ceiling light is white. The only lights that are yellow by default are the recessed spot lights from the ROOM_FUR catalog.
If your designs are coming out too warm or with different colors, it could be because you have the Global Illumination turned on. Having the Global Illumination turned on will cause colors of your floor, ceiling, units, countertop, etc.. to bounce off each other creating different lighting.
Attached to this post, I have added a few images I’ve created using the High Quality Rendering. These are to show different types of lighting and different colors that are added because of the textures I’ve used.
Notice in the first image, the floor is red, ceiling light on, global illumination turned on, and the design looks very warm.
In the second image, it has the same amount of lighting as the first. The only change is that the floor was turned to Green. Notice how the image looks a little darker and grey.
The third and fourth images are just to show you again the differences of having the Global Illumination active. The third image has Global turned off and the fourth has it turned on. Here you can noticed how much warmer the fourth image is due to the texture of the units bouncing off and changing the light.
I hope this helps you both in some way!
Regards,
Kris
***The original 2 first images were too large to be added. I had to add them back, so the first 2 images are now the 3rd and 4th images.
-
October 8, 2020 at 12:50 pm #300424Participant
Kris,
I don’t see any pictures. But as far as I know I was told in the past that the auto light was set to yellow. If it’s white then color me surprised because it does not seem to be white at all, with global lighting off. But once I shut it off and place white lights it is most definitely white.
My understanding of the auto lights always was this – they are only set off the walls that have placement zones and are affected by the depth of the placement zones, correct? And that they were set to a warm white at least all through version 10 and 11. They still seem warm to me in 12 but maybe that’s been updated? Still lighting is a disaster in the program because in any space that has more than one or two windows the lighting from the windows is so intense without any ability to lower them, just shut them off with selecting black for the color of the lighting. Does that have any plan on being fixed in upcoming versions? Especially considering it’s been a part of 2020 now for years.
Thanks!
-
October 9, 2020 at 6:58 pm #300625Participant
Hi Jonothan,
From what I can tell, the size of the placement zone does not influence the auto lighting itself. There does need to be a placement zone on the wall though.
When tested the lighting (auto lighting, ceiling lighting) they look to be white. The only yellow light I have found is the recessed spot light.
Windows can be dimmed in the program as well. When setting ‘white’ as the color you are turning the light on 100%. Setting it to ‘black’ will turn the light off 100%. To dim the light, simply use darker shades of grey.
Regards,
Kris
-

You must be logged in to reply to this topic.