-
-
May 20, 2020 at 2:16 pm #282841
 Chris SetlockParticipant
Hi Gang,
I love the surface tool, and use it extensively. It does have one behavior that drives me up a wall. Perhaps someone here knows a better way, or the developers could suggest a work around:
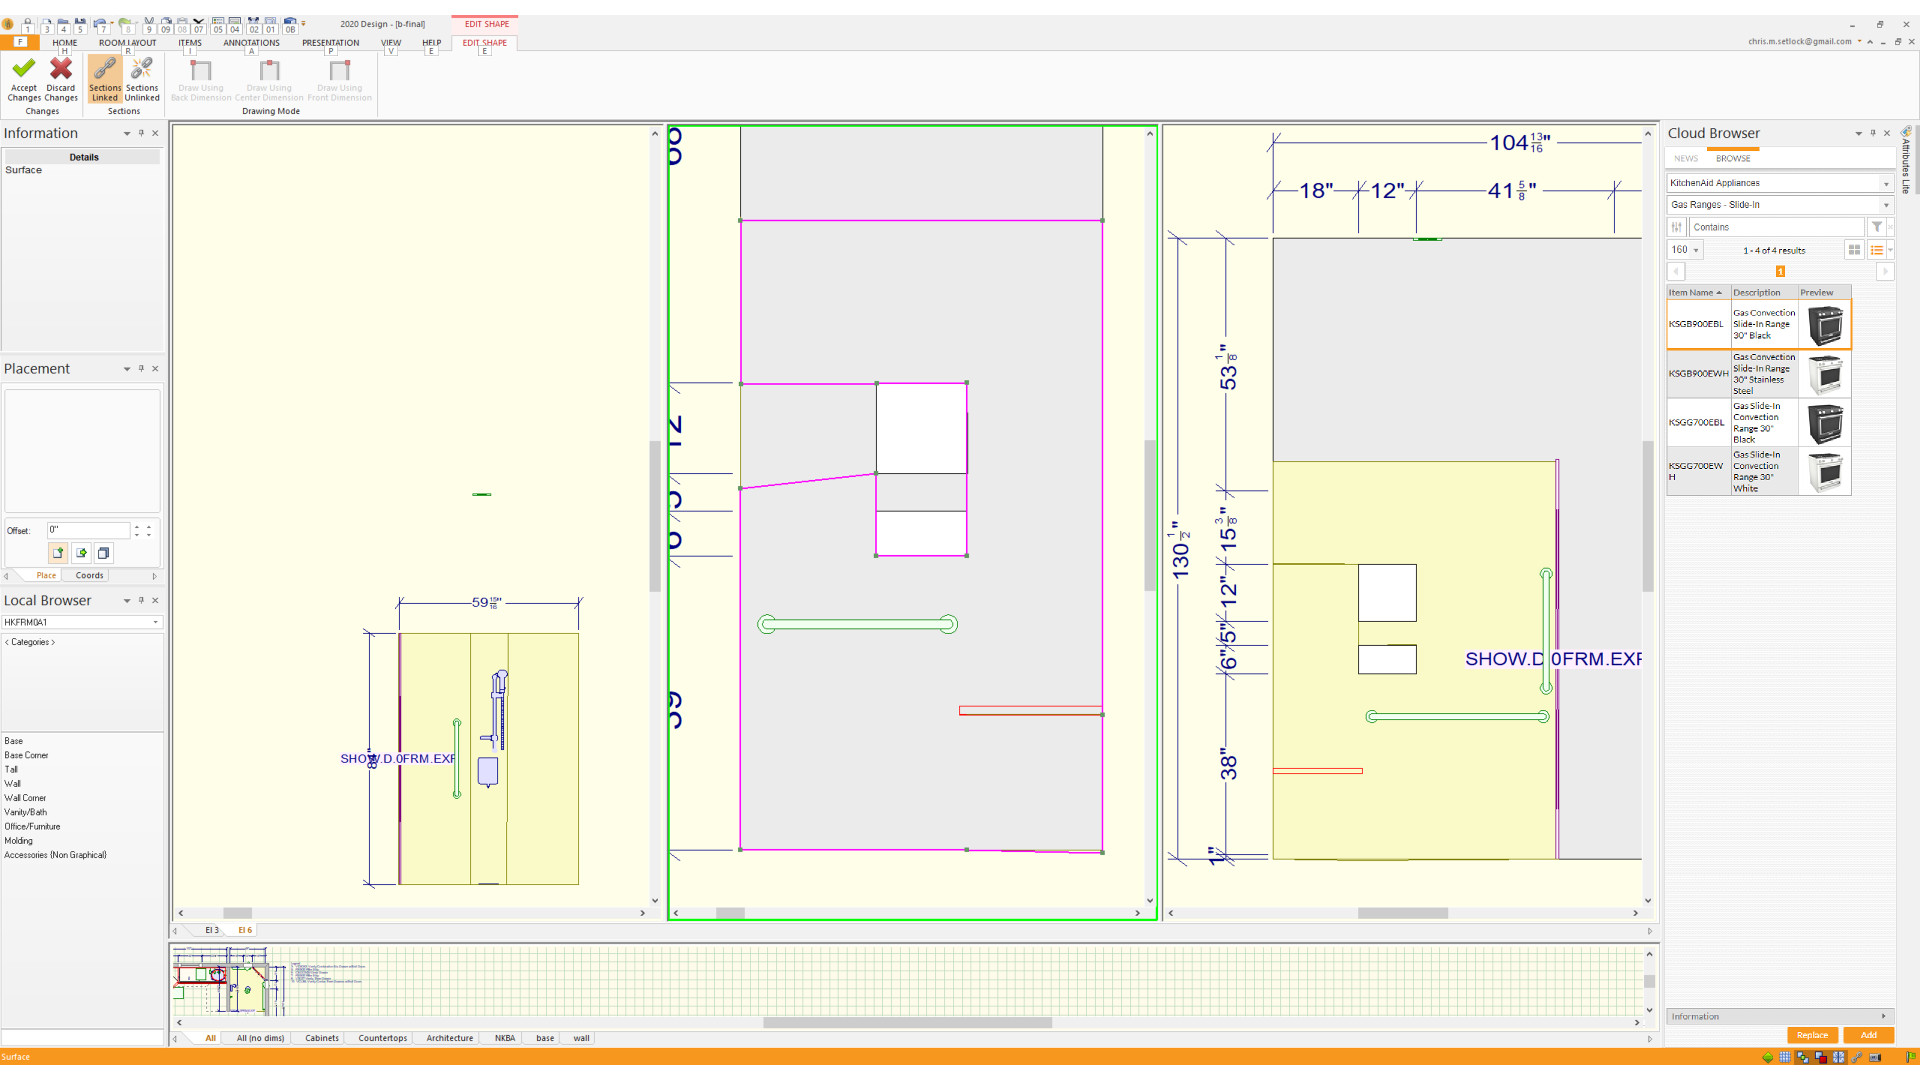
I like niche boxes in my showers, and sometimes even in kitchens. In 2020, I make these by creating a pass through in a wall, then when I use the surface tool to lay in the tile fields, I’ll edit the surface to outline the pass throughs. I’ll then make another surface and recess it into the passthrough, to close the back of the box.
This usually works fine, but sometimes the surface tool will close the box, effectively “tiling over” my niche. I dont know what triggers this behavior. It seems to happen arbitrarily.
I’ve attached a screenshot of my workspace, showing a surface in mid-edit, in case my description isn’t clear.
Attachments:
-
May 21, 2020 at 3:31 am #283013
 Mike LangensiepenPilot Pro
Hi Chris, as you know, 2020 openings are actually just a transparent section of wall. Have you tried making the wall out of 3 sections (tall, short, tall) and an object to the ceiling to fill in the gap? This creates a genuine hole that allows passthroughs.
Attachments:
-
May 21, 2020 at 10:26 am #283025Chris SetlockParticipant
Hi Mike,
That’s a good trick. I’ll have to remember that.
This problem relates to niche boxes, though, not actual pass-throughs.. I dont think that would be a good work around for this. I’m using the surface tool to lay tile patterns on complex wall shapes. If I made the wall out of sections and objects, I think it’s pretty likely they tile pattern would mis-align across the otherwise invisible seams. I’ve learned that the x-y origin for textures is unpredictable.
Attachments:
-
May 21, 2020 at 11:31 am #283039
Kristopher Papaleo
ParticipantHi Chris,
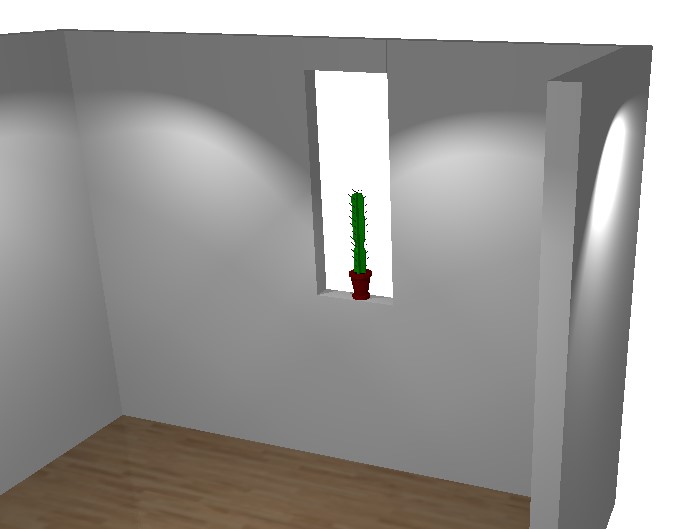
Im not sure if I fully understood what you meant here or if I do. Might this be the look you are going for? See attached imaged below. If that is what you are looking to do, then you can click HERE to check out an article to guide you on how to create the surface around the cut-out (even though the article was made for windows, it does still apply to pass-throughs and cut-outs.) Then i created a smaller surface and recessed it into the cut-out using the in/out option.
Regards,
Kris
Attachments:
-
May 21, 2020 at 1:08 pm #283053Chris SetlockParticipant
Thanks for the reply, Kris. The article you share is pretty similar to my process. I’ll experiment with following the steps in the article exactly, and see if it still misbehaves for me.
-
May 22, 2020 at 2:49 pm #283106Chris SetlockParticipant
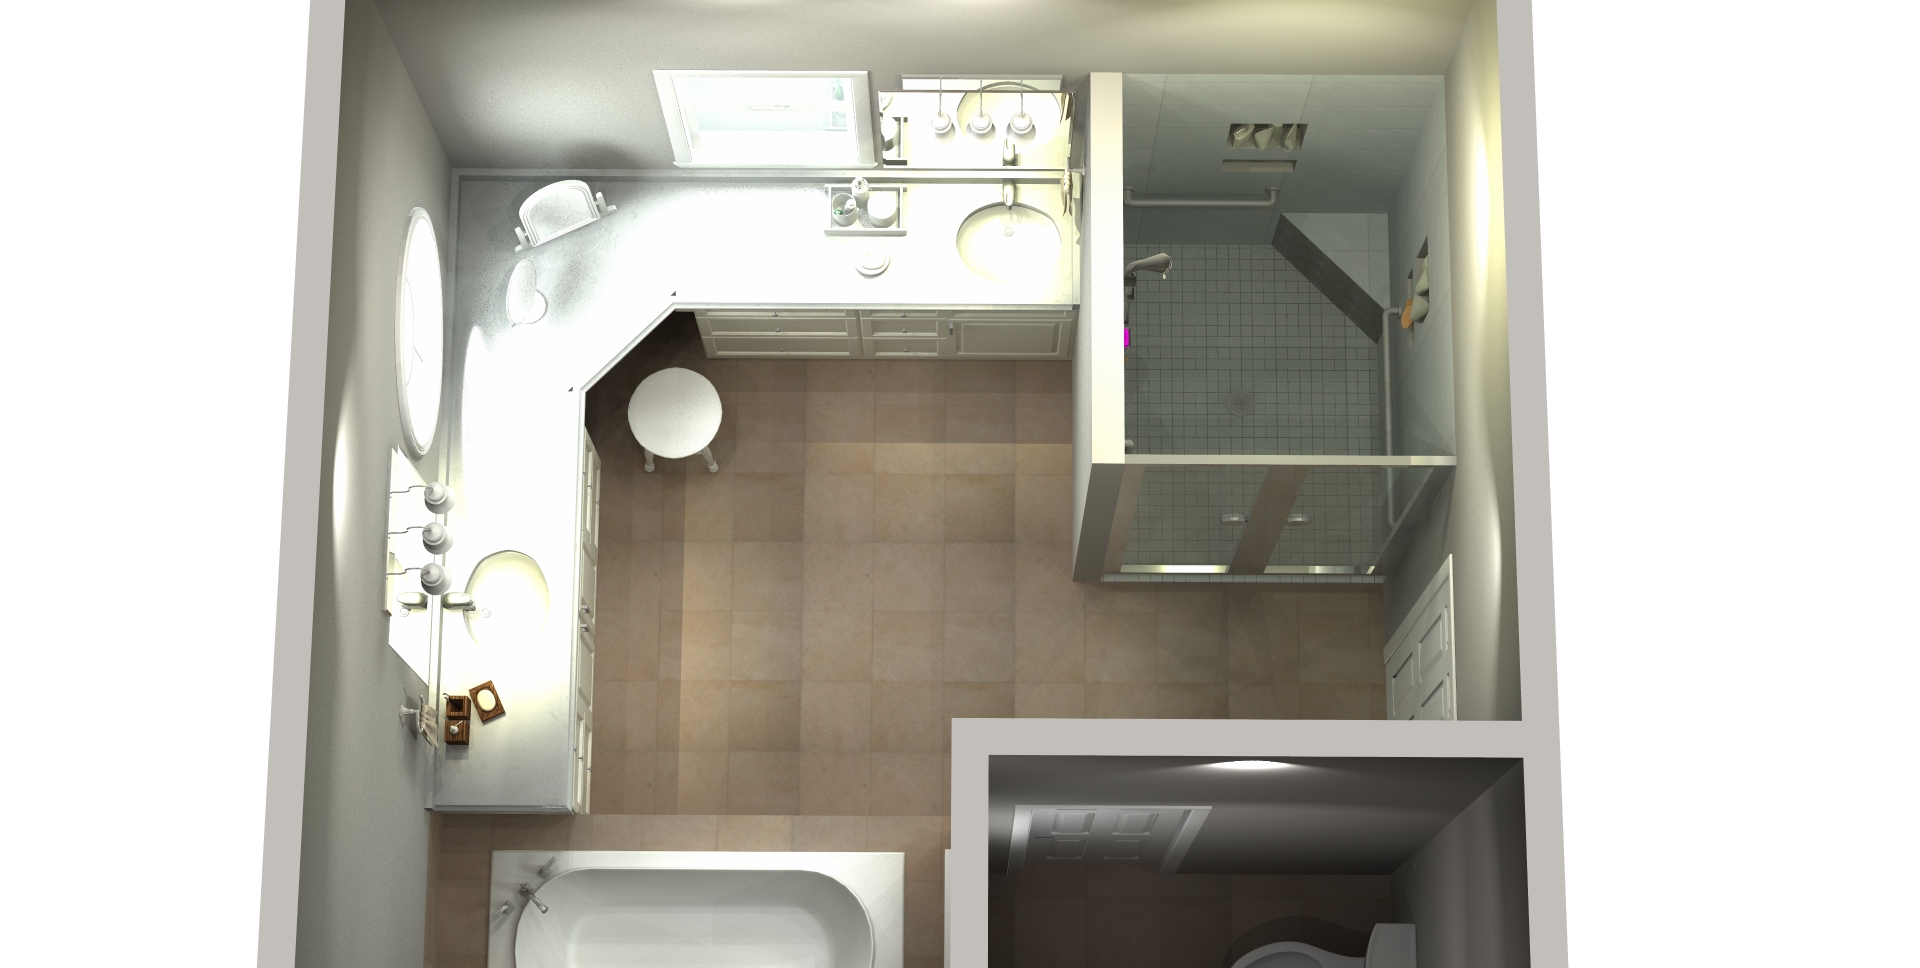
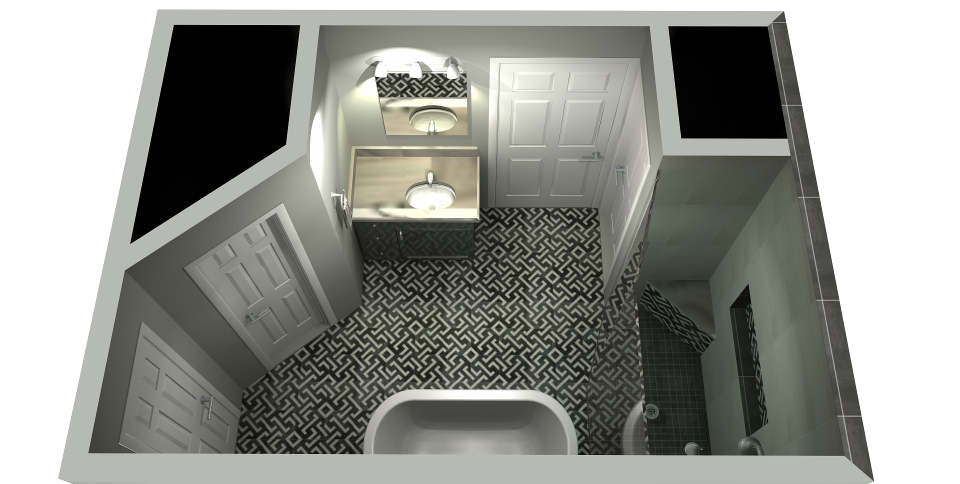
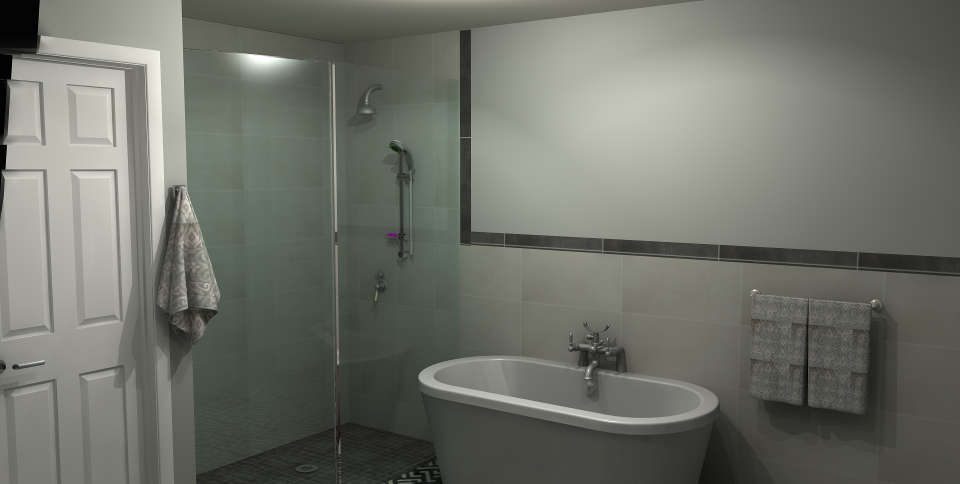
OK! It did it again, today. In this case, I was making renderings. And the surface tool closed a niche box after I made an edit _to another surface_.
I’ll try to attach the renderings to this message.
In steps, this is what happened:
1) I made a rendering from a birdseye view, and was satisfied.
2) I adjusted the angle for a different view, and noticed that there was a gap showing where a 3d object wasnt actually on the floor.
3) I lowered the object, and edited the wall surface to cover the resulting gap.
4) I generated a high quality rendering
5) The resulting rendering shows the niche box “tiled” over. Note: This is not the wall that I edited in step 3.
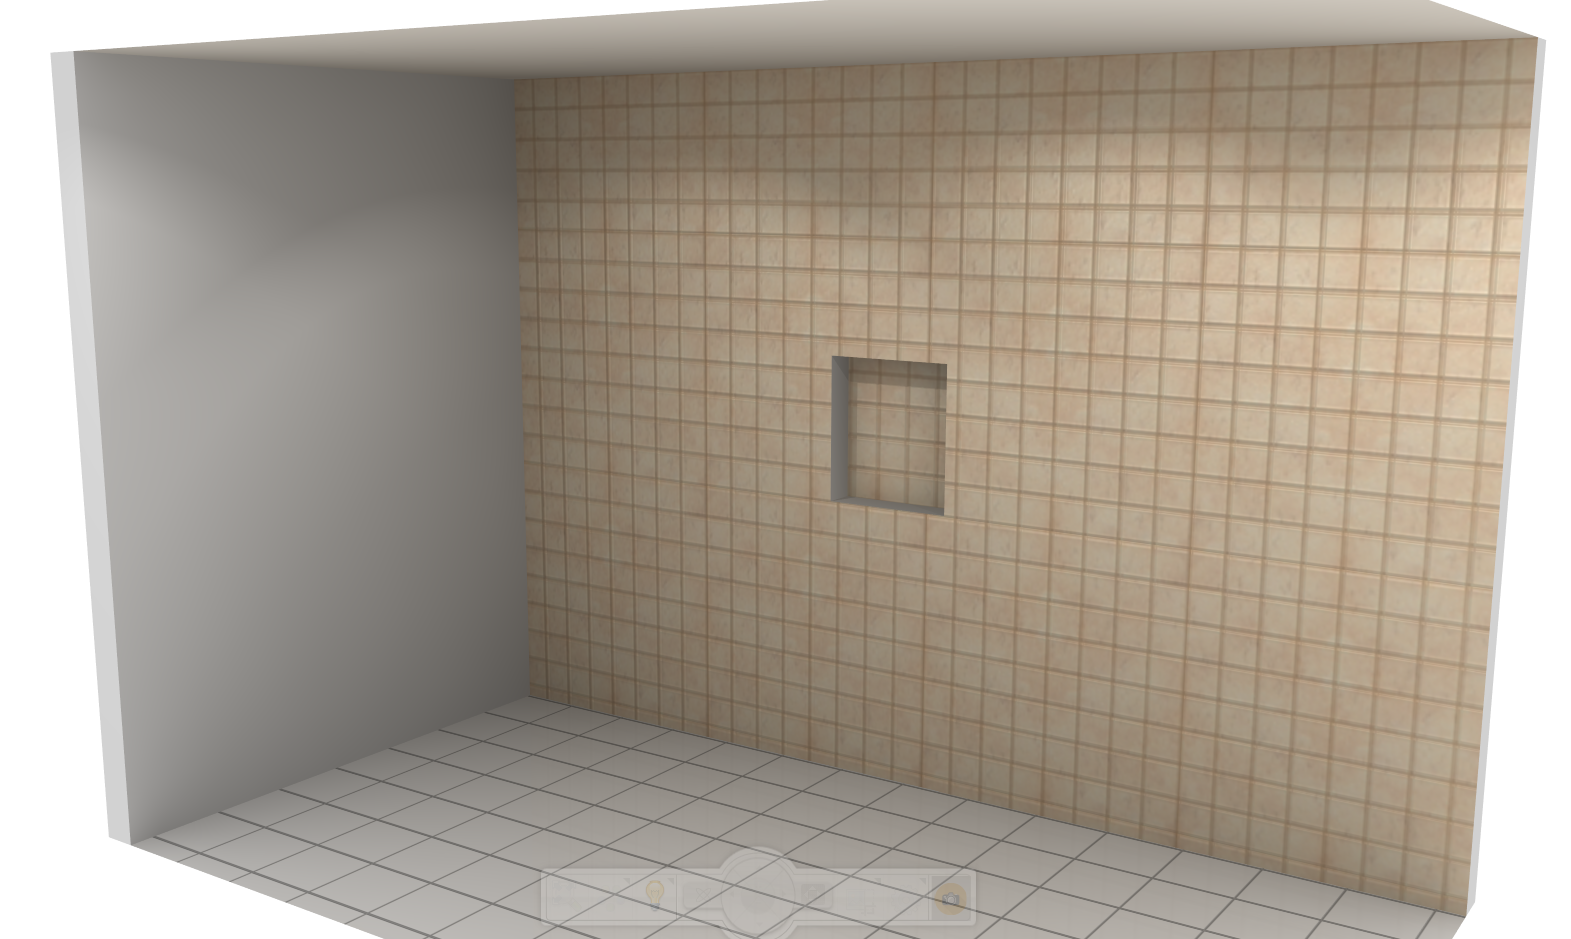
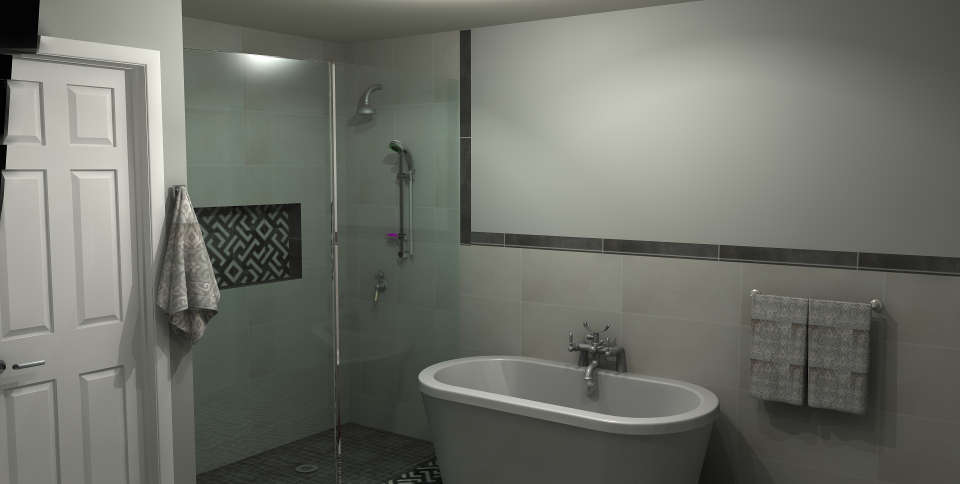
6) I deleted the surface, and remade it, being careful to follow the steps Kristopher directed me to.
7) The first attempt resulted in a weird surface with jagged voids in the texture.
8) Second attempt produced satisfactory results.
Attachments:
-
June 5, 2020 at 2:48 pm #285332
 Ariana ThompsonParticipant
This often happens to me with countertops. I put in a sink I’ve created – so I have to shape the ctop around the sink manually…and if I “close” the ctop around the sink – it seals over.
Now if the sink is on a wall, I just bring the two sides of the ctop around behind the sink to ALMOST touch and cover the hairline gap with a faucet.
If the sink is in an island, I bring the ctop around the front of the sink, then cover the hairline crack with a cube that’s the same depth/width/etc and coloured with the same texture. Awkward, and you can see it in a Hidden Lines render, but not in a colour render.
My instinct would be to do the same with your cubby. Bring the texture around the cubby…around the top and around the bottom “meet” on the left side of the cubby since in this design that is the least visible angle – but then don’t let the two sides touch. Then either conceal the hairline break in the tile with an accessory, or a 1/8″thick cube coloured to match, pushed up against the wall.
It’s clunky, but I find in the long run – if I KNOW something has a good chance of going wonky in a render, I just rig it so I know it won’t and save myself the future frustration!
Ariana
-
You must be logged in to reply to this topic.