
-
-
July 21, 2020 at 12:40 pm #290231
 Chris SetlockParticipant
Hi Gang,
Can anyone explain how the origin point for textures is determined? It seems arbitrary, but there must be some underlying logic to it.
This came up in a previous thread about custom textures and countertops. I frequently take photographs of the actual granite slab and use it as a custom texture for the countertops. It usually looks great, but sometimes I get odd seams since the texture isn’t seamless. The texture itself is larger than the object it’s being applied to, so I wouldn’t expect this to happen, unless the origin point is based on the _room_, not the object.
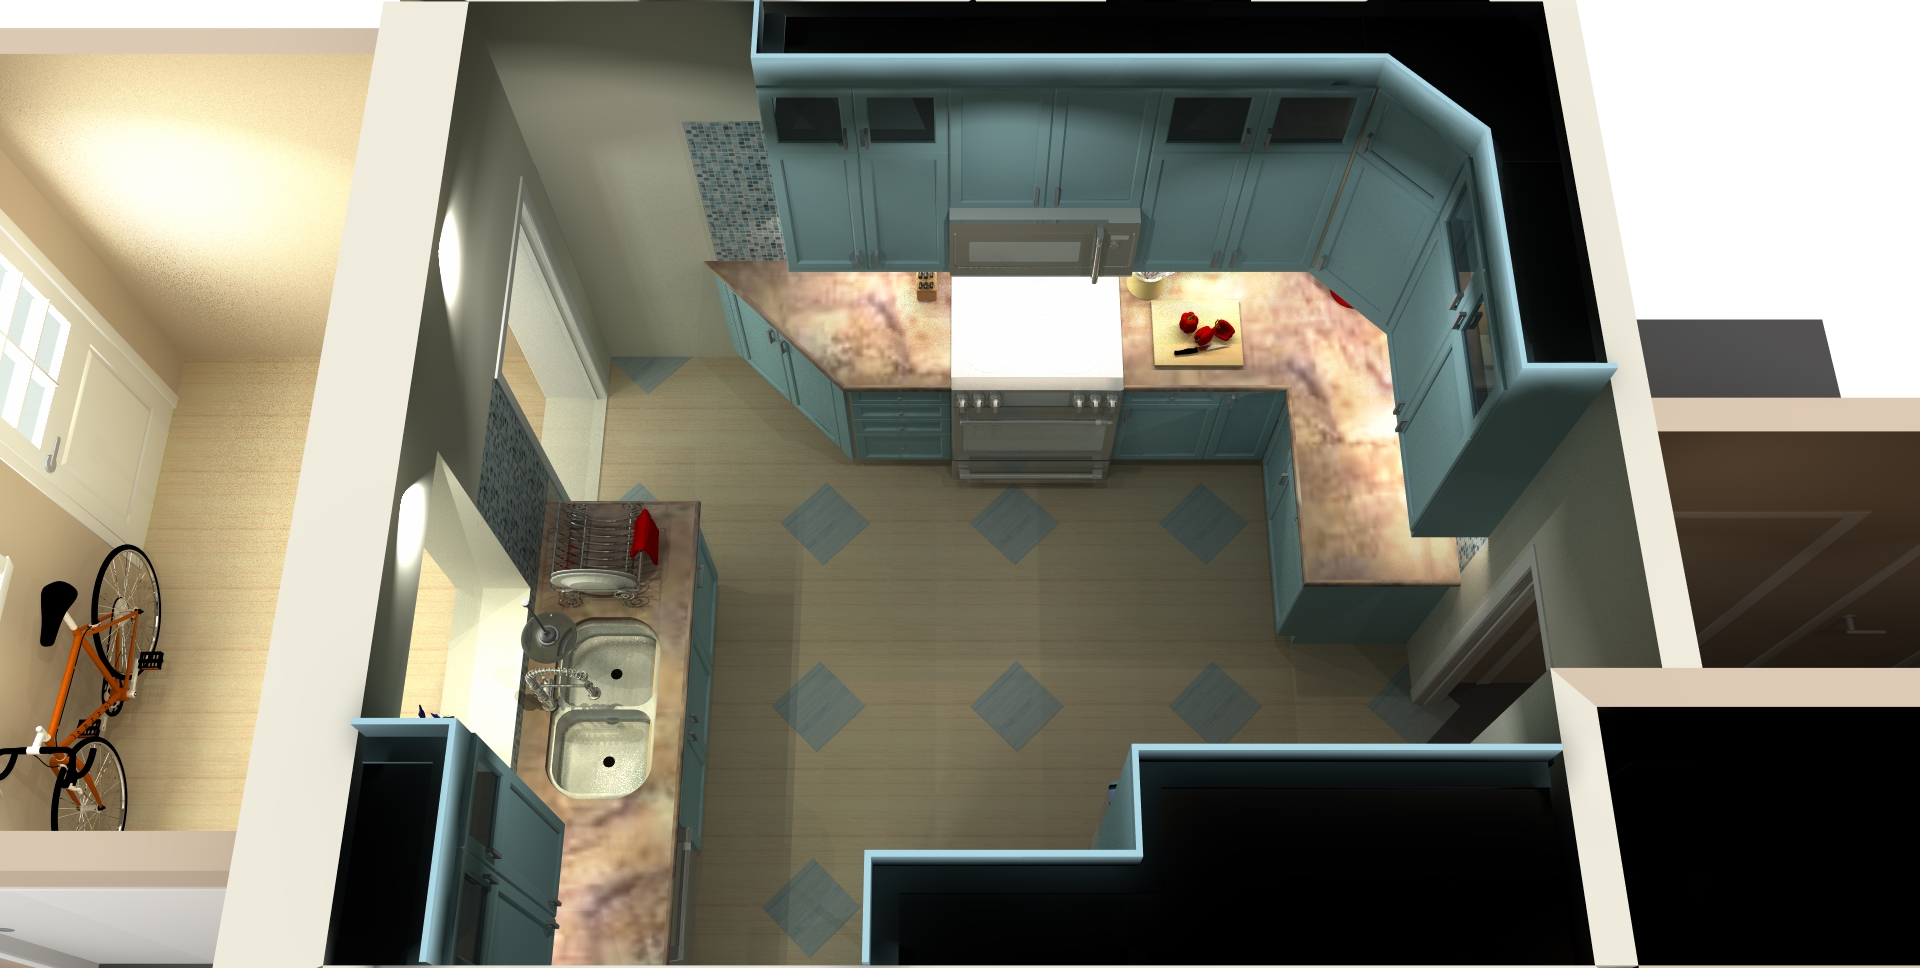
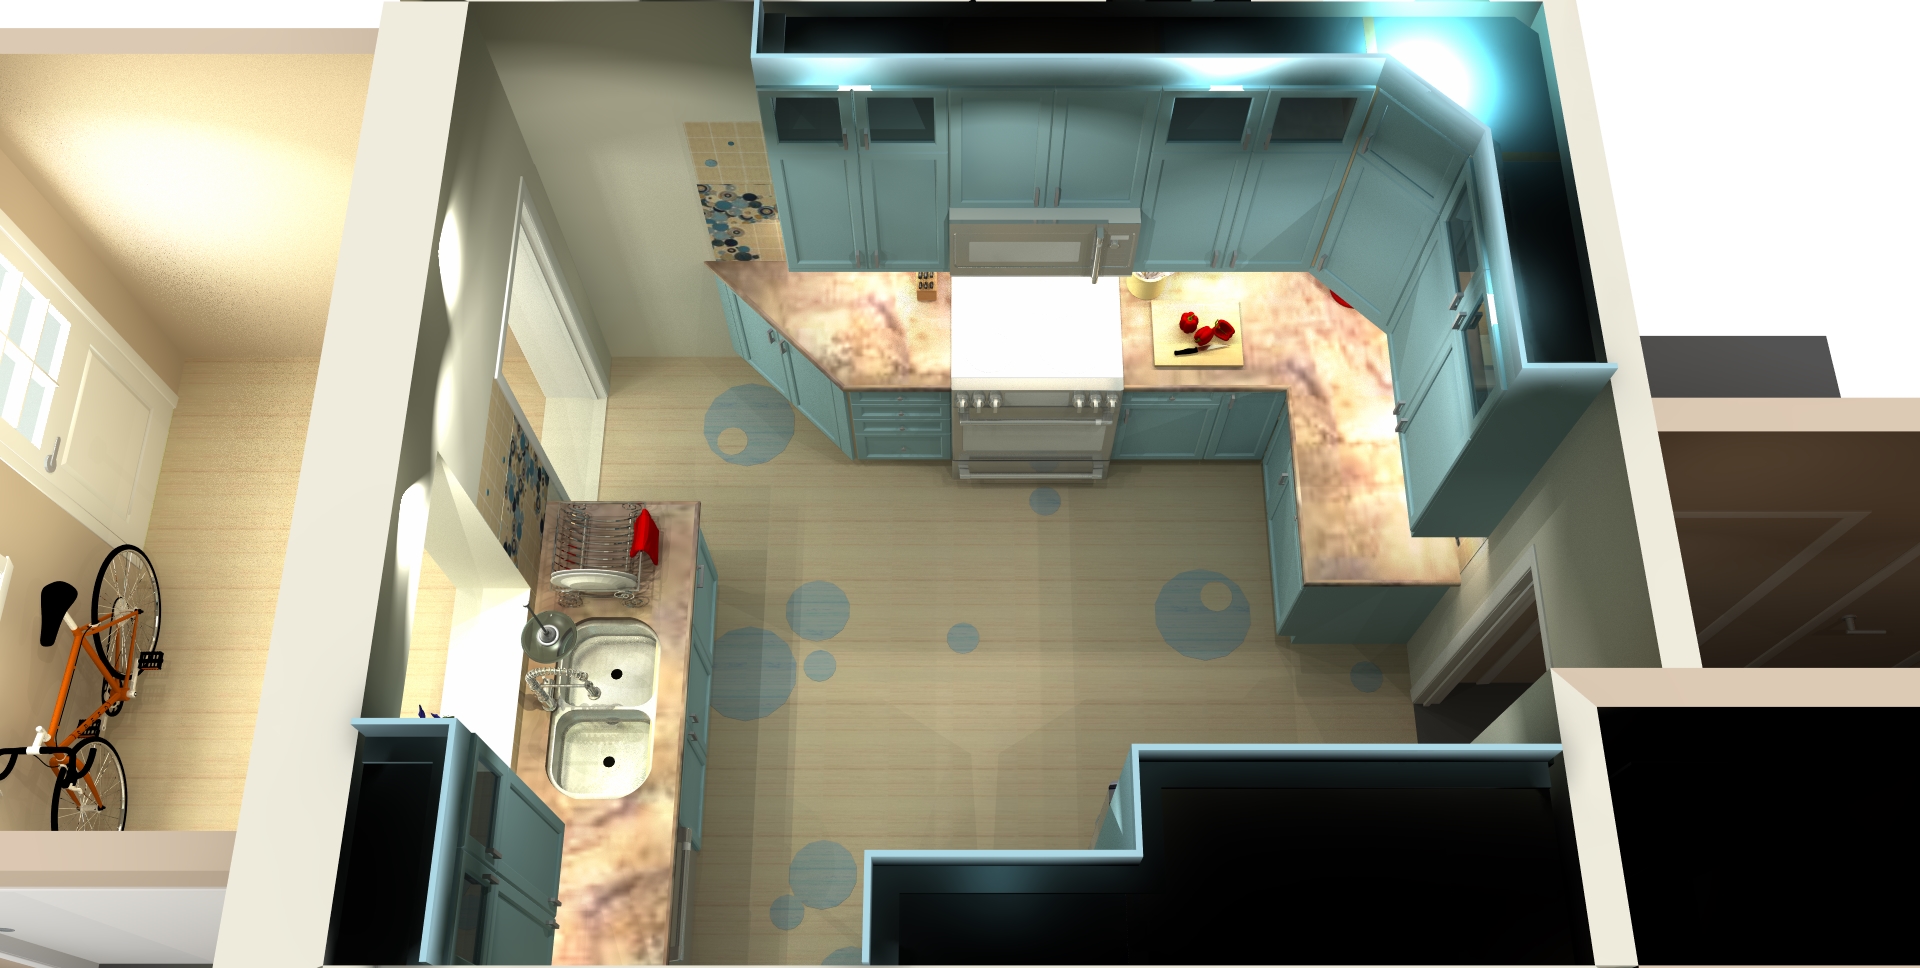
Related question: How are textures oriented? I’ve attached two renderings using the same linoleum textures. Notice that the floor with “diamonds” has striations running parallel to the edge of the diamond. The “bubbles” have striations aligned with the overall floor, as intended.
I achieved this look by placing 1/16″ thick 3d objects on top of the base floor. My first attempt at the “diamonds” were rotated squares. I wasn’t surprised when the texture rotated, too. My second attempt was to make “diamonds” out of larger squares with clipped corners, so I wouldn’t have to rotate. Unfortunately, the texture rotated itself as you can see. Any ideas to stop this from happening?
Attachments:
-
July 21, 2020 at 12:59 pm #290251Chris SetlockParticipant
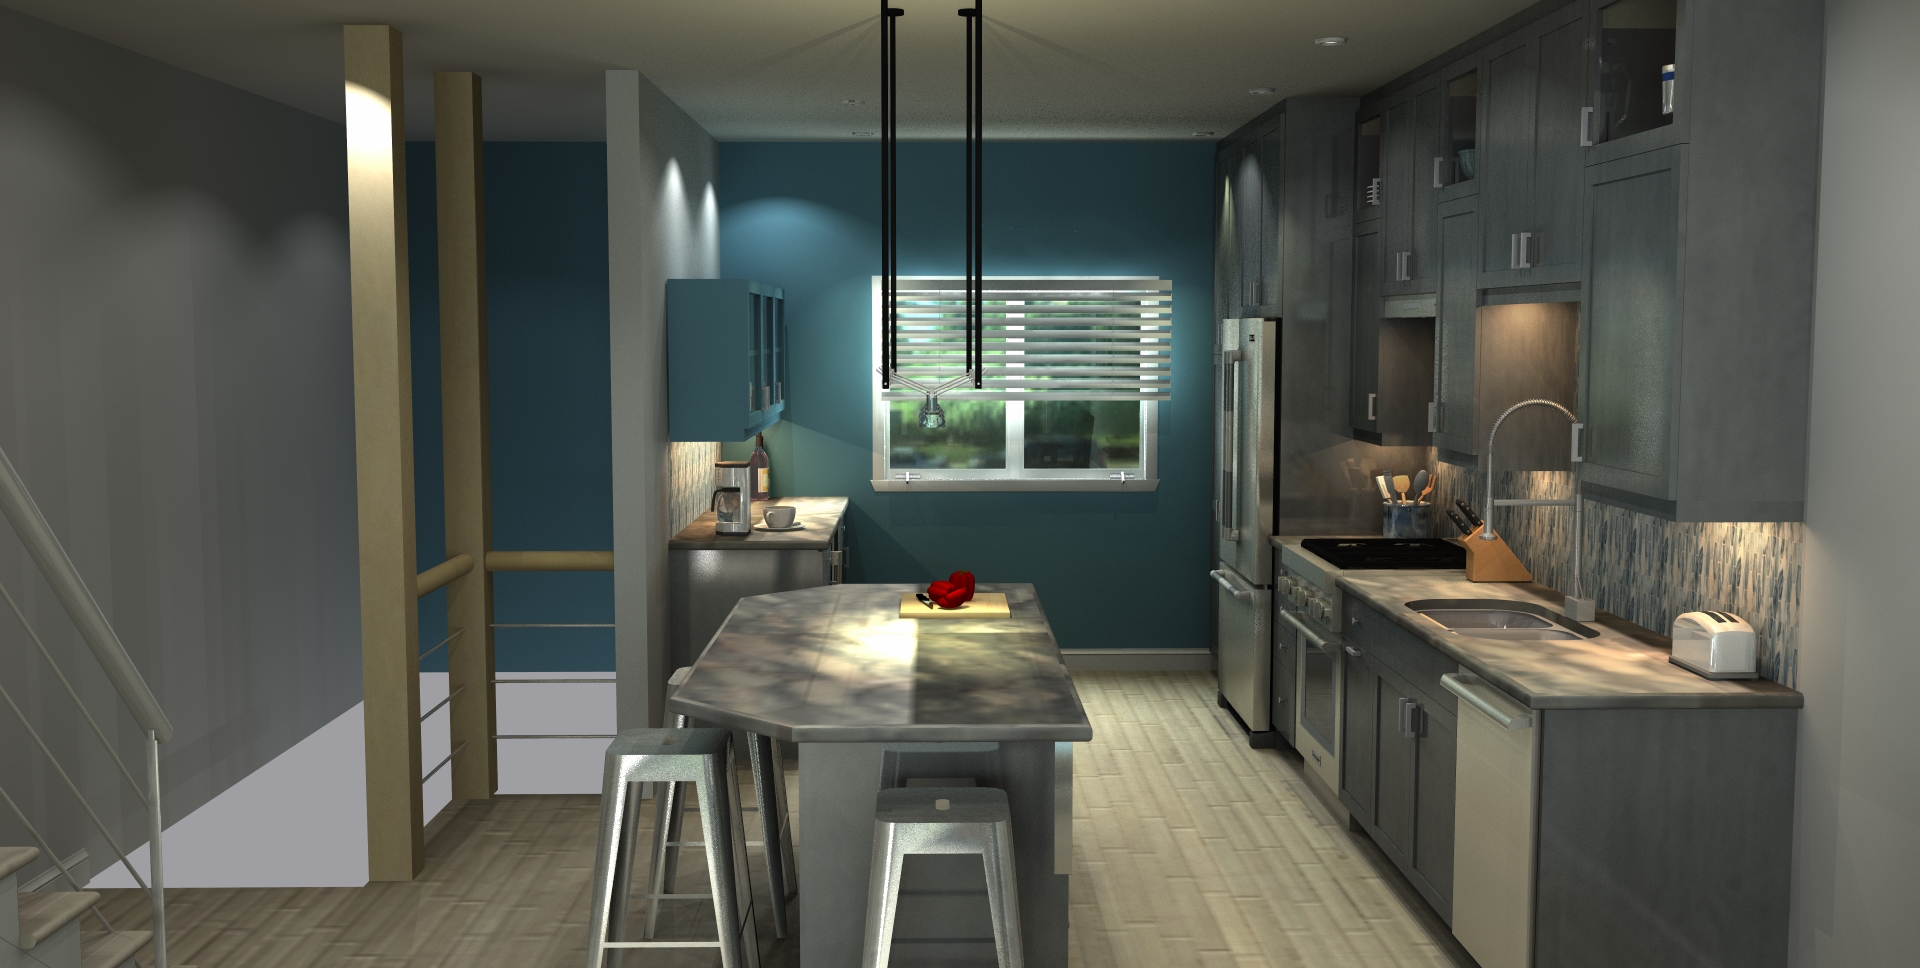
Here is another rendering showing a seam down the middle of an island. This could only happen if the origin point is outside the object.
Attachments:
-
July 23, 2020 at 1:16 pm #290562
Kristopher Papaleo
ParticipantHi Chris,
After doing some testing, I have found out a bit more on how the textures are placed in the program.
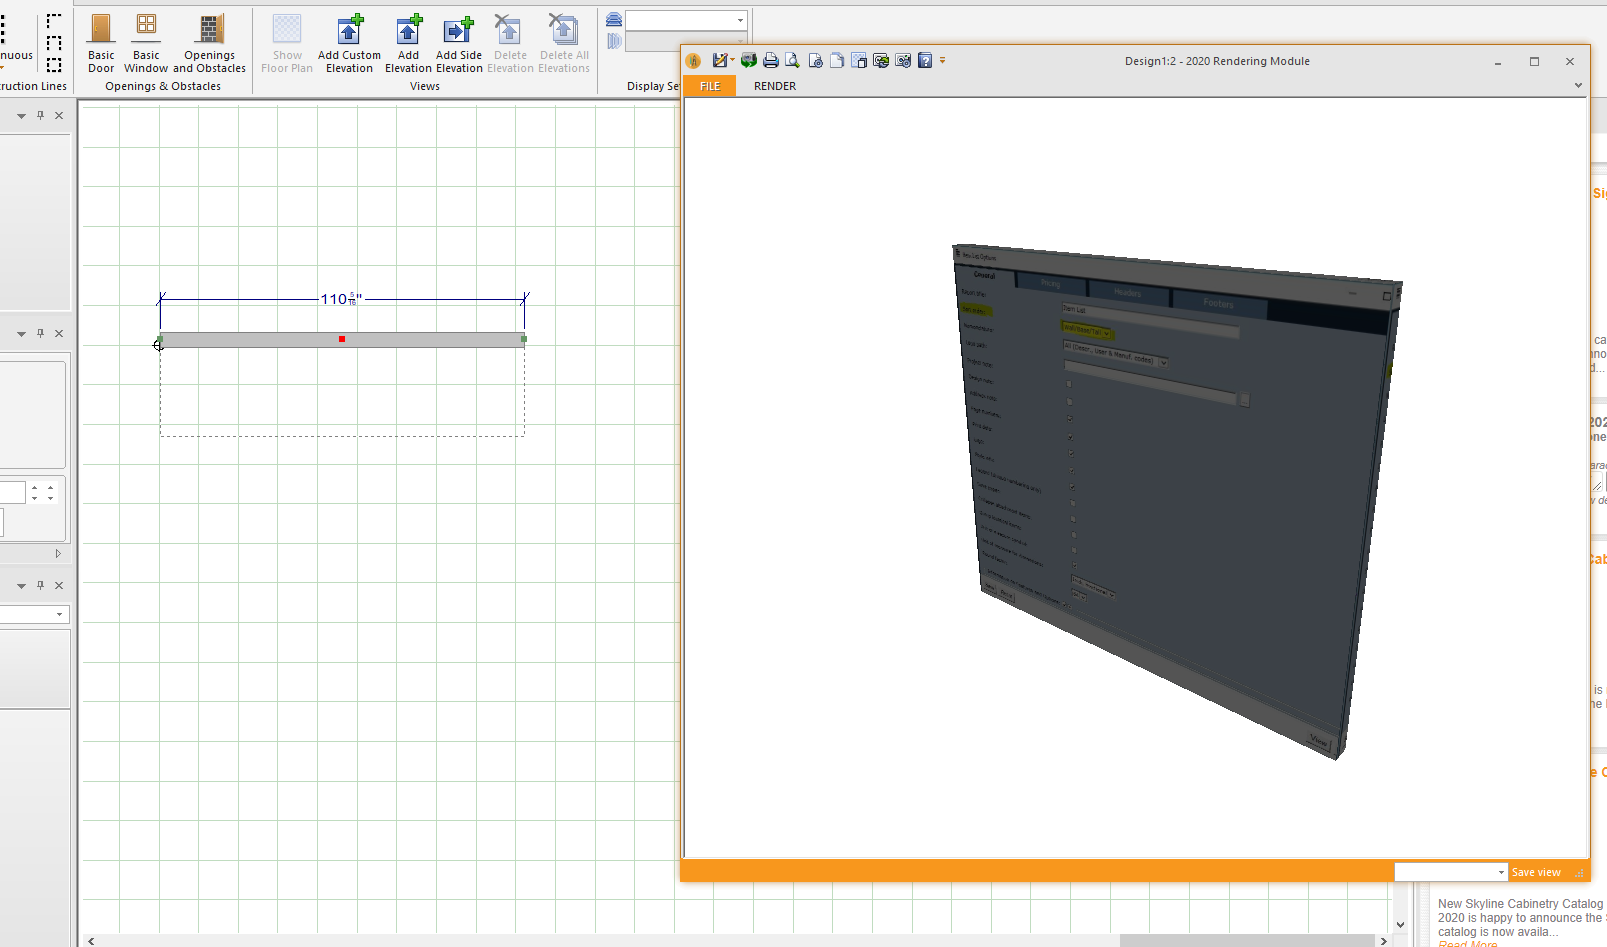
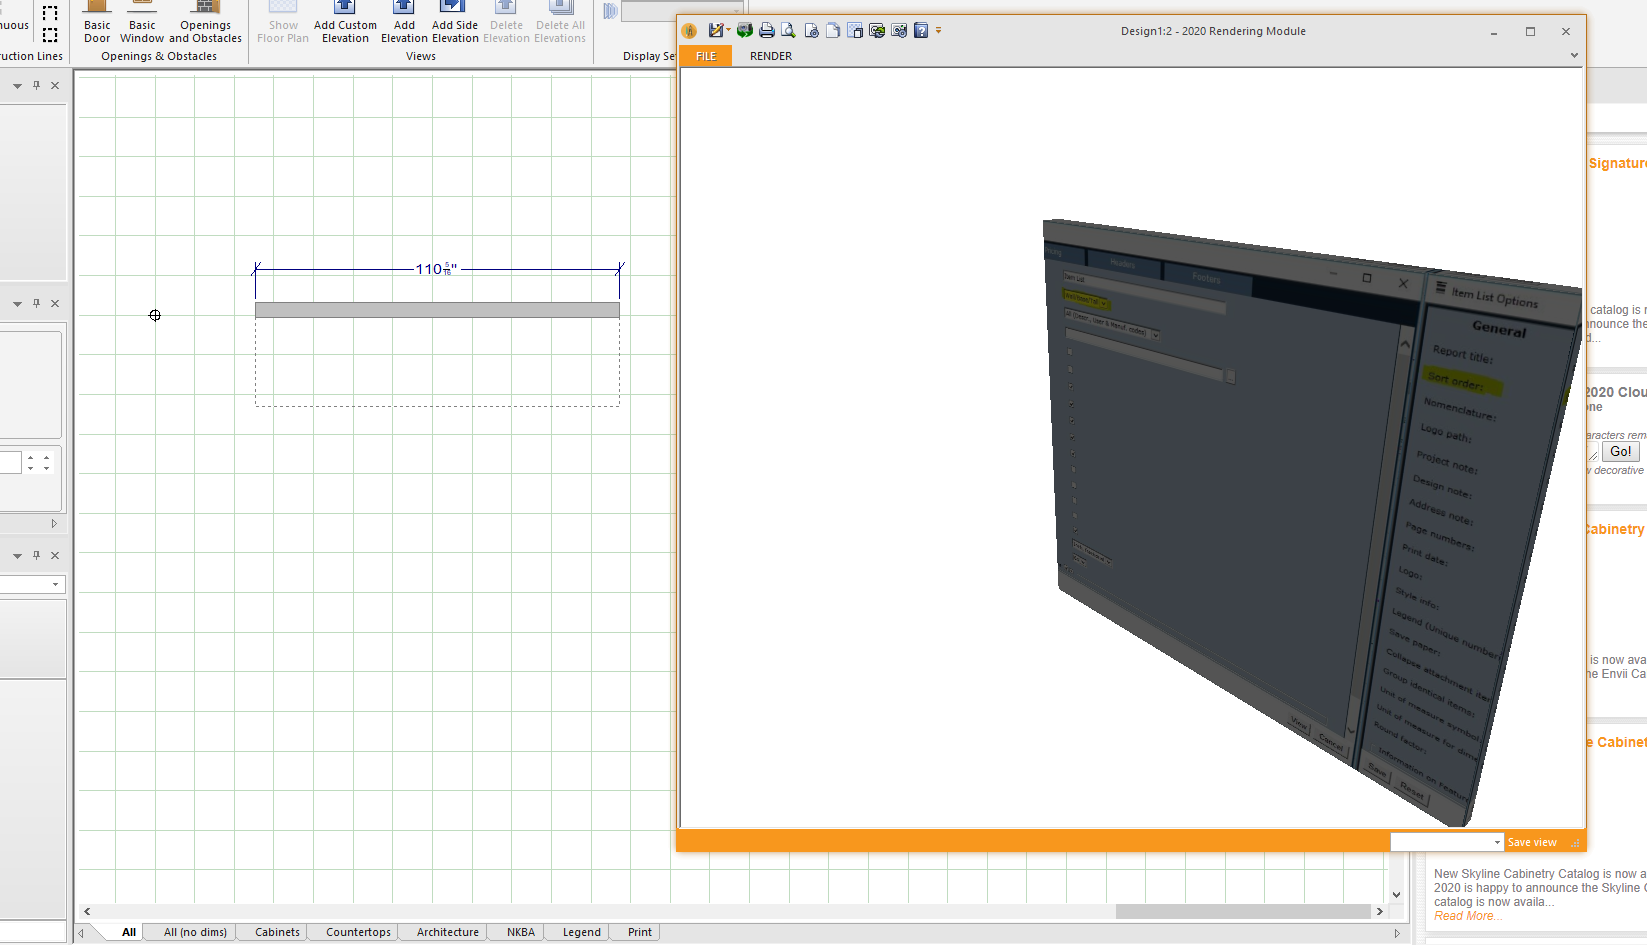
1.Walls – When using a custom texture on the walls, it will be placed depending on where the Grid Origin point is. (To find the Grids Origin Point, you have to right click on your floor plan and open the Display Settings. From there, you want to click on “Work Area” and then enable the “Display grid origin”.) For this example, I’ve used a quote as my texture on the wall. – See images below.
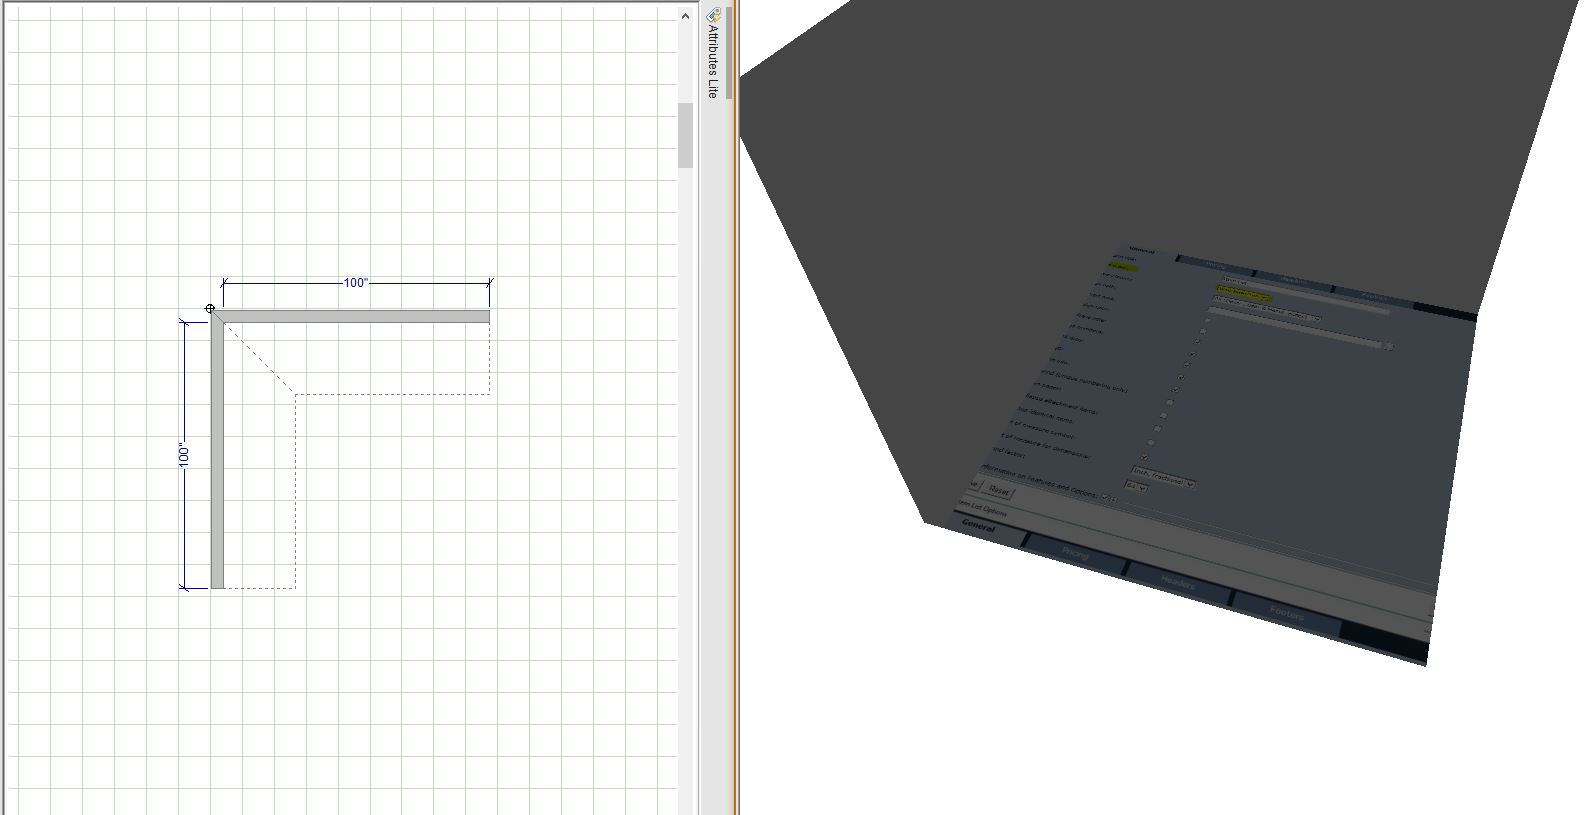
2.Floors – The floor acts similar to the walls.. Depending on where the walls are placed (next to the origin point) will determine how the floor generates. -See images below.
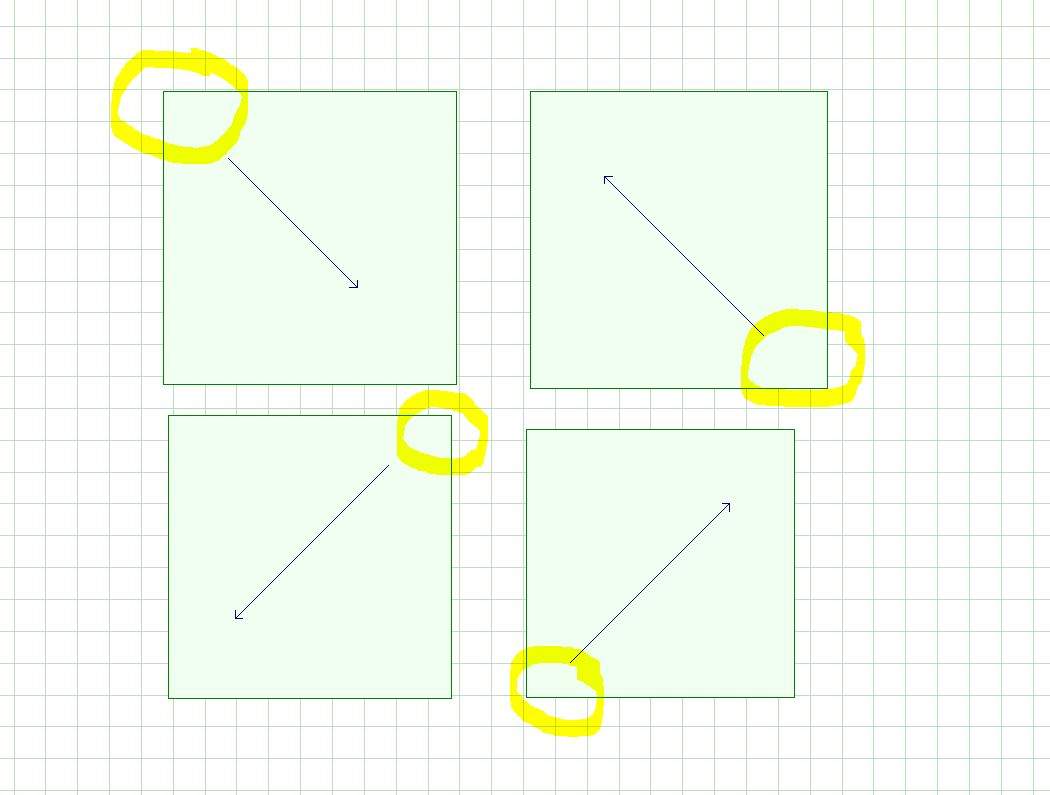
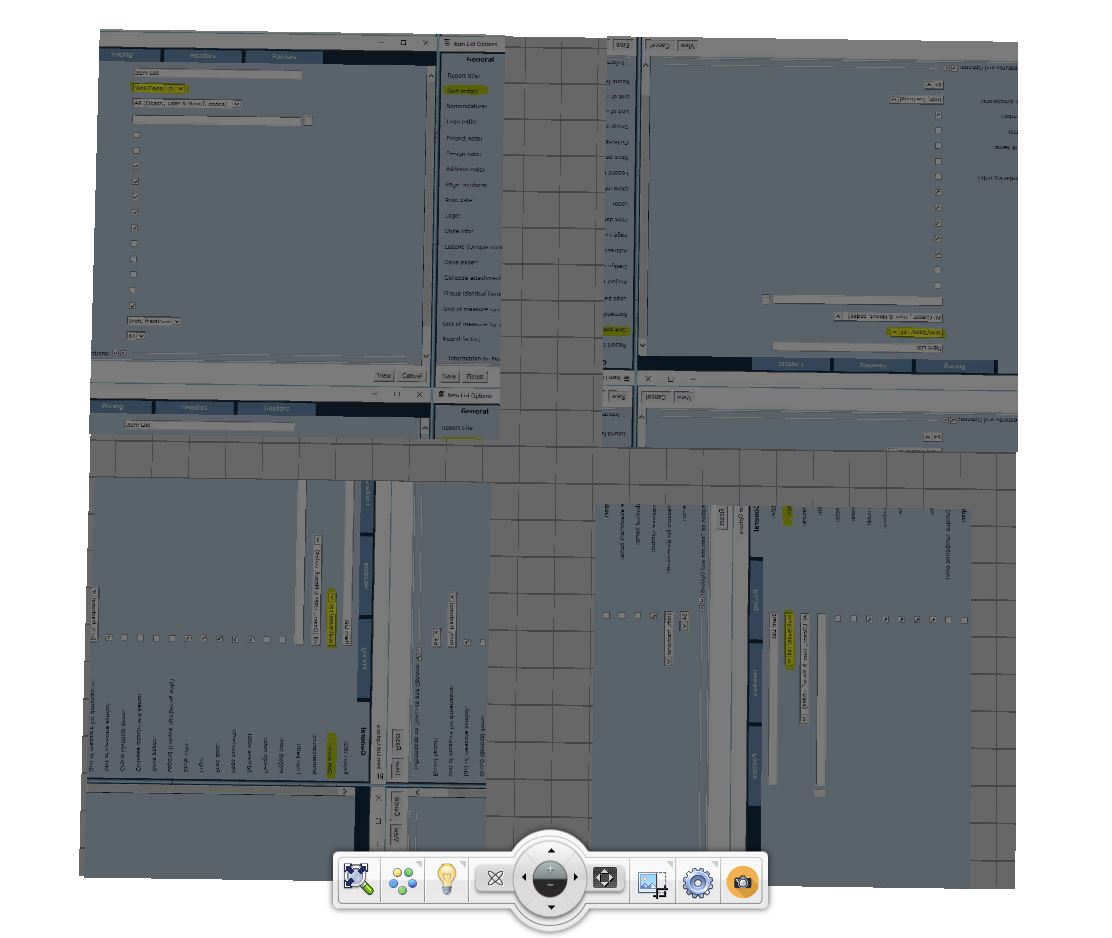
3.3D Shapes – Depending how the 3D Shape is drawn is how the texture will be placed on it. (Circled in Yellow is the first click I made when drawing the Shape using Annotations-Square)-See image below.
(You can only post 4 images per post so I’m adding another post along with the images from the 3D Shapes.)
Regards,
Kris
-
July 23, 2020 at 1:17 pm #290599Participant
Hi Chris,
Here are the 2 images from my third point for the 3D Shapes.
Hope this helps with your texturing!
Regards,
Kris
-
July 23, 2020 at 2:09 pm #290623Chris SetlockParticipant
Hi Kristopher,
Thanks for the reply! I never knew about the origin point in display settings. I’ll go play with that now.
You’re second example with 3d shapes is helpful, too. One corollary though: 2020 will rotate the texture to align it with a shape’s long side when possible. That was when I lost patience with my diamonds. I tried making a diamond by clipping the corners of a square. That would have worked, if 2020 hadn’t rotated the texture.
I posted this question on the 2020 “power users group” on face book. A user there suggested making a new texture that is already rotated 45*. That way, when 2020 aligns the texture with the square, the striations will be going the way I want them to.
-


You must be logged in to reply to this topic.